Cone
|
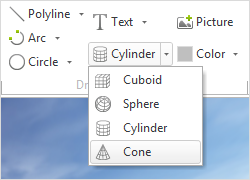
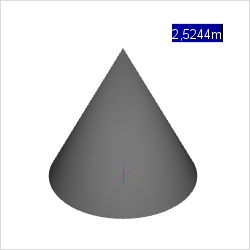
Within the Drawing Elements category under the Start menu, you can find the 3D element Cone. A Cone is inserted as follows: |
|
1.Left click to set the center point of the base. 2.Drag the mouse to set the desired radius of the base or enter the value using your keyboard. Press Enter to confirm the value. 3.Lastly, drag the element to the desired height or enter the height using your keyboard. Press Enter to confirm the value. The base of a Cone can also be drawn using two boundary points. To do so, select Cone from the Drawing Elements category under the Start tab. Right click to activate the context menu and choose the option Bound. Alternatively, press Y. |
The following table shows the properties of a Cone that can be adjusted:
Cone Properties |
Edited by means of |
Position (Move) |
Object Interactor, Center Point Interactor on the Object |
Radius |
Interactors on the object |
Height |
Interactors on the object |
Color |
Properties Editor |
Name |
Properties Editor |
Link |
Properties Editor |