Panoramas
Note: On our Youtube channel you will find a video on this topic |
||
|
|
For interior architects and designers, 360° panoramas are a powerful tool for project presentations. A significant advantage over traditional renderings is their interactivity. Clients can navigate through panoramas playfully, gaining a realistic sense of the proportions and details of the design. In this video, we show you how to create and share 360° panorama images. |

Creation of Panoramas
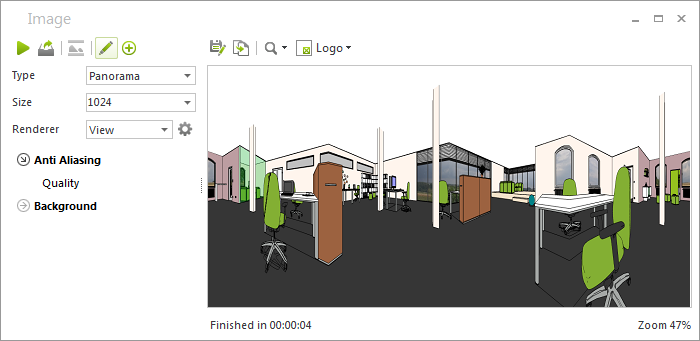
Panoramas can be generated through the Image dialog under the Presentation tab. Select Panorama from the selection box Type.
Panoramas are 360° views of a design. The image appears as if it were projected onto the inside of a sphere. With the help of a program for viewing panoramas, it is thus possible for a viewer to observe the scene from a position at the center of the sphere, looking upward or downward or pivoting around his or her own axis.
|
To create a Panorama, a viewing position must first be established in the design. This is best done by using a Camera with equal values for Eye Height and Target Height (e.g. 1.75 meters). |

After this, the height of the image to be computed is set in the Size field, Image dialog. The width will appear automatically, always as twice the height. As in the case of ordinary images, you decide whether the panorama should be computed as a real-time image or a rendering.
The panorama will be displayed in the Image window. The spherical image will be projected as a rectangular rendering (see following illustration).
Saving and Sharing Panoramas
You can store panoramas in image data formats like PNG or JPG. The image will be stored as a spherical panorama, for which you have to use impress or an extra panorama viewer (like FSPViewer for Windows). There are some services that will automatically open a JPEG panorama in a 360° viewer. If you upload such a panorama onto your Facebook page, for example, viewers can see the image correctly and are shown an interactive, all-around view of the image without needing to make further adjustments.