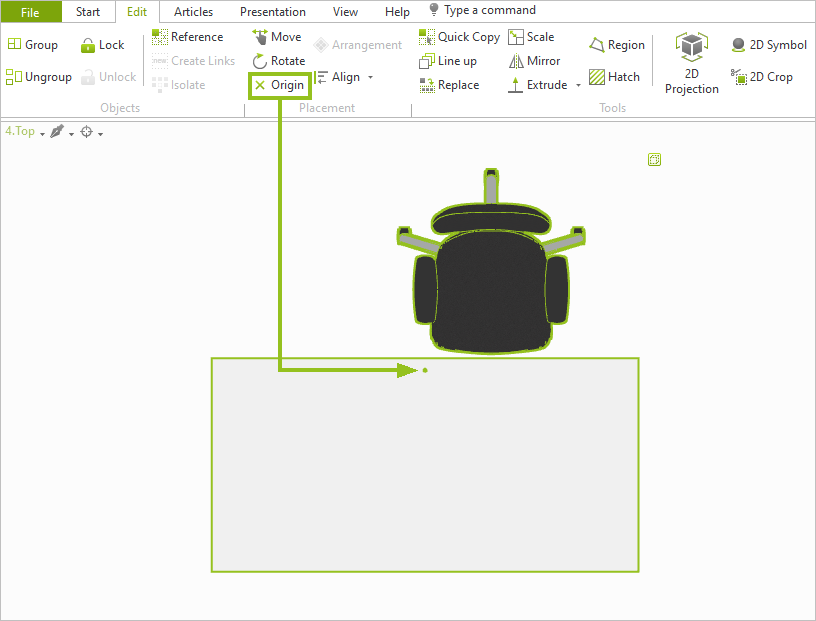
Origin
The Origin tool is located in the Placement group on the Edit tab.
With the Origin tool, you move the common origin point for a group of objects. The origin is represented by a green dot. It helps you plan, modify, and move with accuracy.
The origin shows the relative distance of the group to the origin of the world coordinate system in the Transformation area of the Properties Editor. If you move the origin, the values in the Properties Editor change accordingly.
Use and Move origin
1.Select one object or multiple objects in your drawing.
2. Use the Group command (Objects group on the Edit tab) to create a group from your selection.
3.The origin of the group will now be displayed. Initially it is placed centrally between the elements of the group (see image above).
1.To move the origin to a different place, select your group and click Origin (Edit tab).
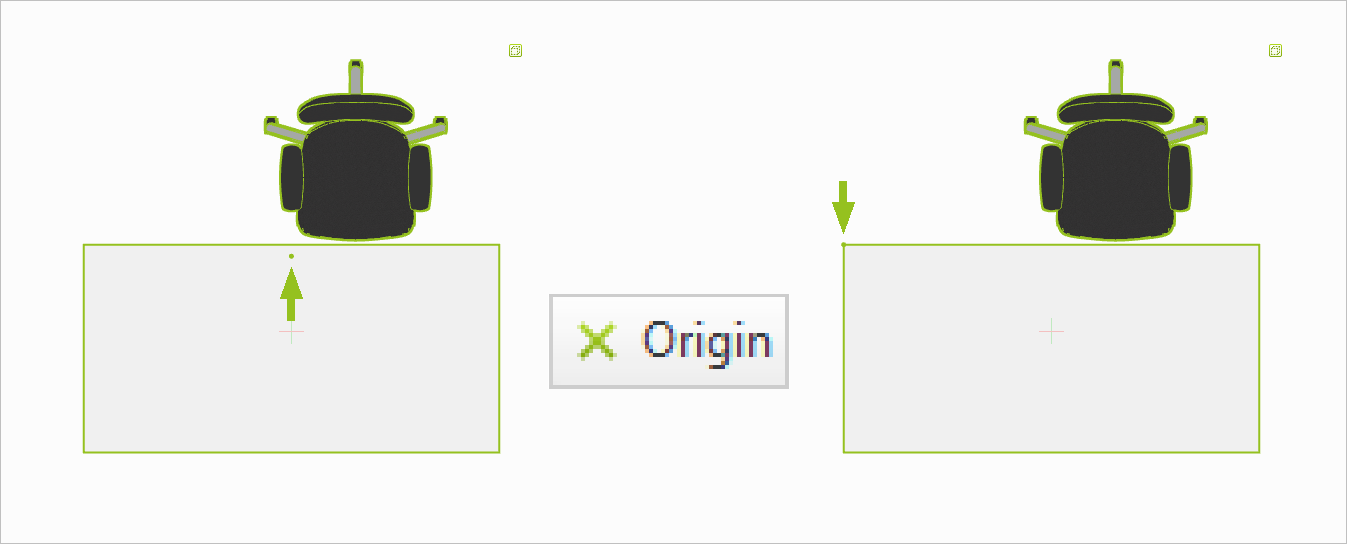
4.Use your cursor to set the new position of the origin within your working space.
5.Confirm the new position with a single click.
Use Case: Position Ceiling Light
In the following application example, you move the origin of a ceiling lamp to align it with the height of the room.
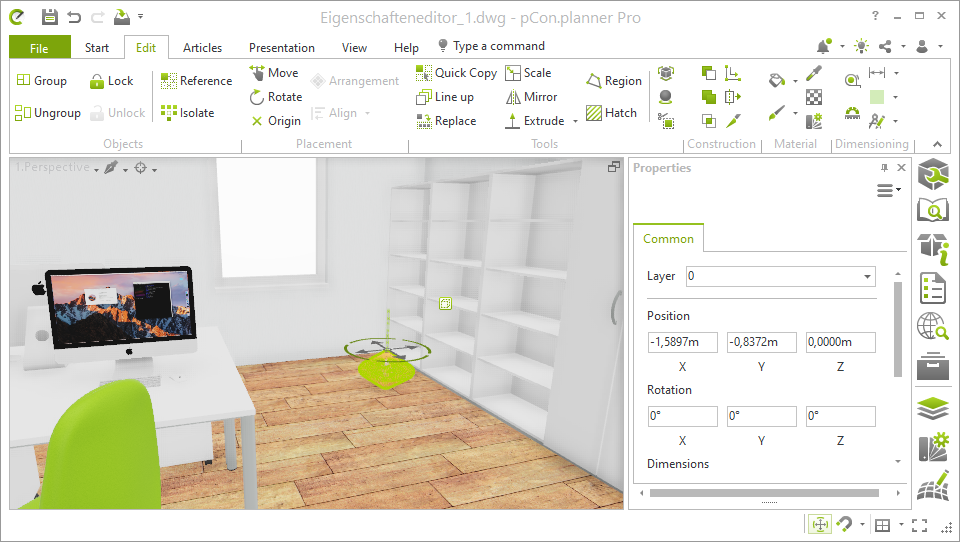
The height of the room is 2.6 meters. So, from the origin of the WCS (at floor level), the lamp must be moved to a height of 2.6 meters. Steps necessary:
1.Insert lamp and group if necessary (Edit tab, Group command).
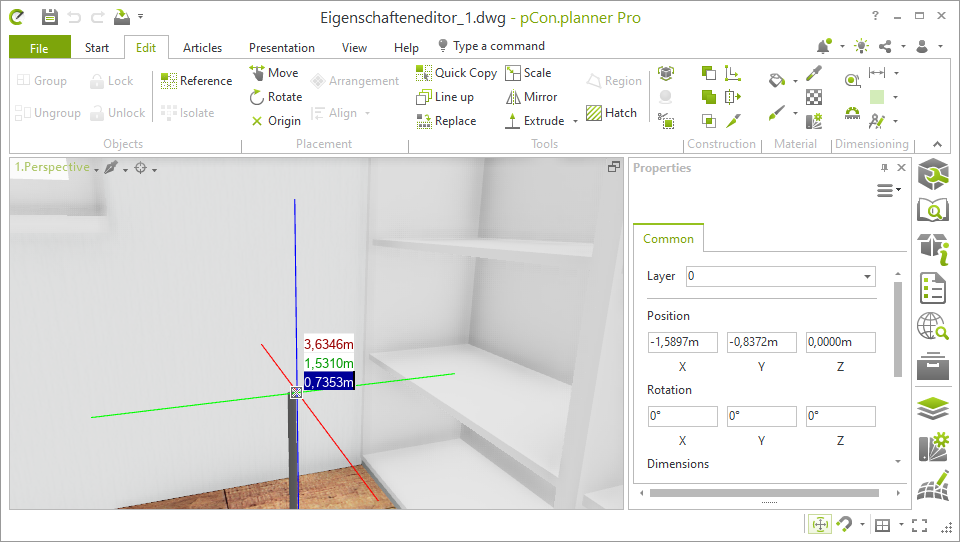
2.Click on Origin (Edit tab, Placement group).
3.Place the origin on the upper end of the lamp group by mouse click. The origin is displayed as a green point.
4.Properties Editor, Position area: Change Z value to 2.600 meters. The lamp is now attached to the ceiling.

 +
+