Customizable Toolbars
The Customize button in the Application Menu enables you to produce toolbars you can configure for yourself. If you frequently use certain functions or tools you can place them on one or more toolbars to suit yourself; you can also integrate them as floating or docked elements on your pCon.planner interface.
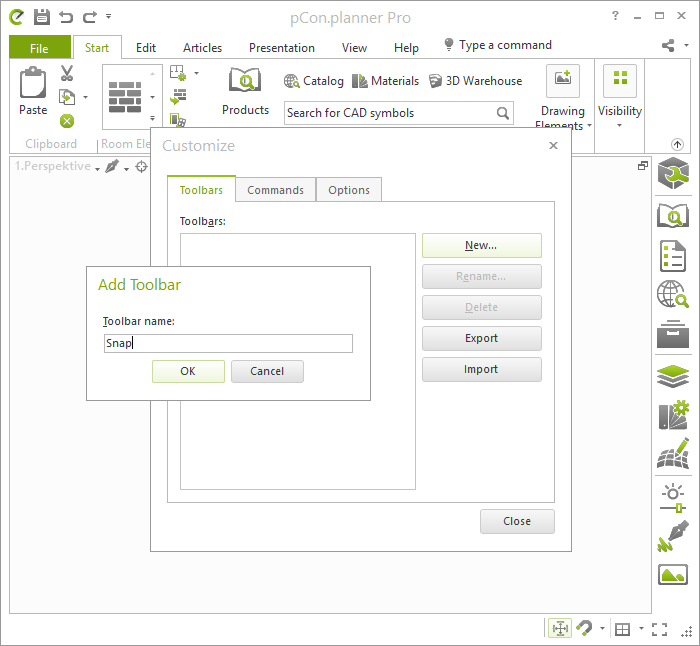
If you click on the Customize button, the relevant dialog will open.
On the toolbars tab, click on New to set up a new toolbar. Give it a name and confirm with the OK button.
You can create as many toolbars as you like, using them for a great variety of purposes.
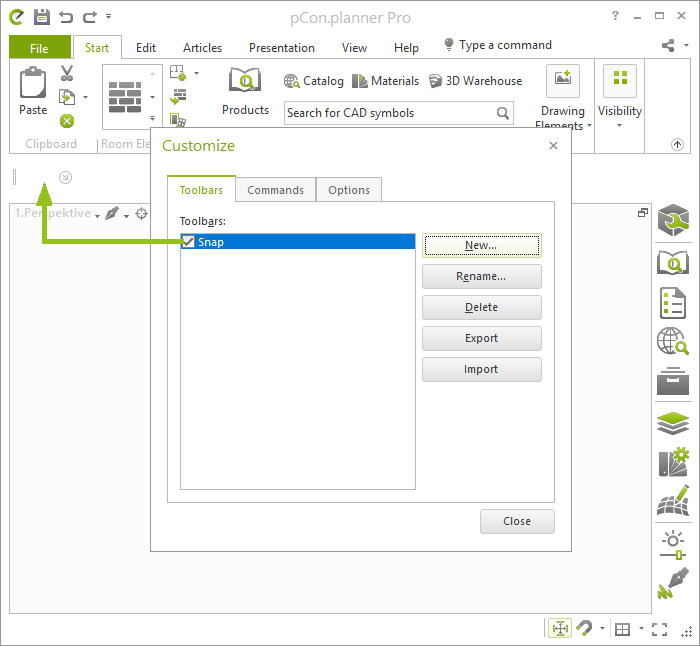
You can use the Rename button to change the name of the selected toolbar and you can remove it with Delete.
When you have set up a toolbar, it will appear at first as an empty object beneath the ribbon (see next screenshot).
You can now use the Commands tab to select the functions and tools you want. To do this, first click on the relevant category and drag the desired command, dropping it into the toolbar that you have set up. To choose whether Large symbols should be displayed, use the Options tab.
On the Toolbar tab, it is possible to hide and unhide the toolbars that you have created. To do this, disable or enable the box next to the name of the relevant bar.
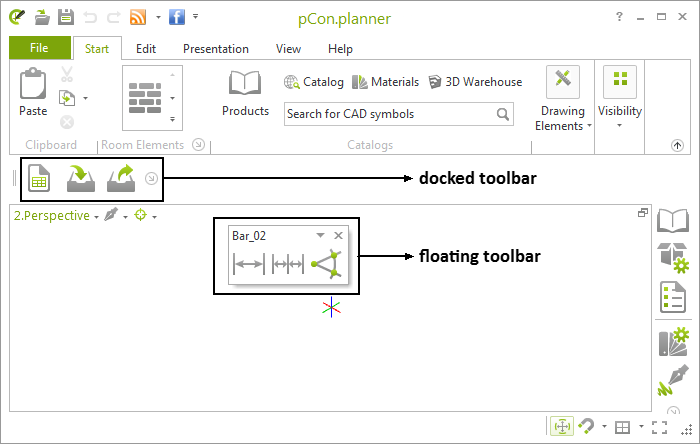
Toolbars can be used as either docked or floating elements in pCon.planner. The term floating means that they will appear as a separate window in pCon.planner.
There is also the possibility of docking the toolbars in various positions on the working area: the default position is at the top, the alternatives are at the bottom, on the left or on the right.
This is how to do it:
1.Move the mouse onto the toolbar. 2.Click on the toolbar, hold the mouse button down and move the mouse. 3.With the mouse button pressed, move the bar to one of the edges of the working area. 4.When you get close enough to one of the edges, you will see how the bar would align itself. 5.If you release the mouse button the bar will dock. |