Floor
The item for inserting floors into rooms is in the Room Elements group. It is important to note that it is only possible to insert a floor if it is surrounded by walls. The height of the walls is immaterial and so a floor can even be inserted if zero is the height of the wall.
|
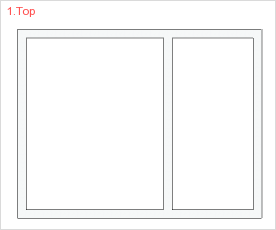
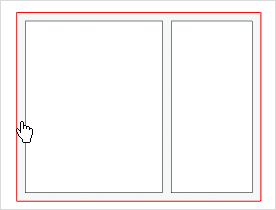
How a floor is inserted is demonstrated by an example. The basis is a layout showing two rooms (see left-hand image). 1.Change over to the Room Elements group, Start tab, and open room elements by clicking on the downward pointing arrow. 2.Now click on Floor. 3.There are two options for inserting the floor: |
|
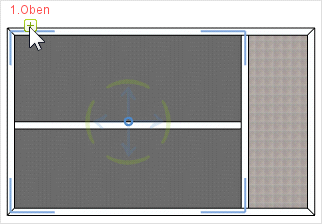
a)In the first option, if you move the cursor over one of the external walls (left-hand image), a red outline will appear round the whole floor area for both rooms at once. In this case clicking the mouse will ensure that a floor is made for the whole layout.
|
|
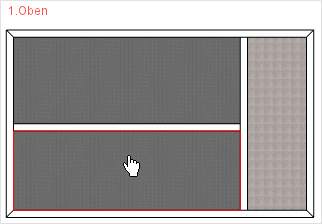
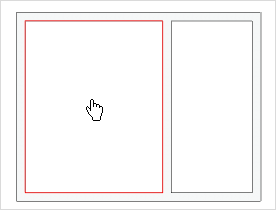
b)If you move the cursor over the area for either of the rooms, a red outline (see image on left) will appear there (and only there). In this case clicking the mouse will ensure that a floor is made only for this room. To insert yet another floor, simply press the F2 function key. |
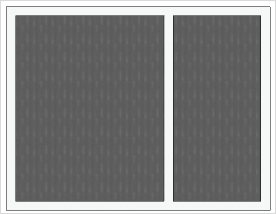
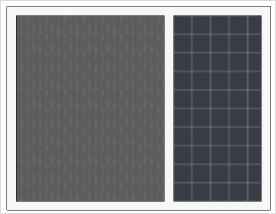
It will be clear that each of these options has its own advantages when you are deciding to apply materials to the default grey rendering of the floor. In the first case (a), the whole area is covered with the same material with one single mouse click. In the second case (b), each floor can be covered with a different material.
|
|
Making changes to Walls or Room Divisions will mean that floors sometimes fail to fill the whole area. The following example shows how to adapt floor simply to altered room situations without having to create them afresh each time.
|
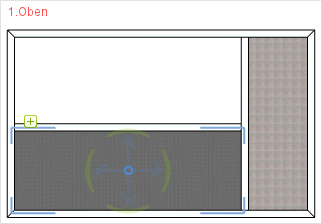
1.In this example, a wall was inserted to divide the space on the left horizontally. However, the floor still relates to the space in its original dimensions. It is, none the less, easy to adjust. Simply select the relevant floor and click on the edit icon as shown in the screenshot. |
|
2.Select the area to which the floor must be adapted. This is done by rolling the mouse over it: a red frame will appear. |
|
3.The next mouse click adapts the floor to the new dimensions. This procedure can also be used when walls or room dividers are removed. It is also possible to copy a floor, insert it into another room and use the procedure described here to adapt it to the architecture of the new room. |