Profile Manager (pCon.planner Pro)
The Profile Manager is on the Articles tab and is accessed by the button of the same name.
Profiles consist in a number of individually assembled configurable article properties.
The Profile Manager is the means of managing these containers. If a profile has been enabled in the Profile Manager, newly inserted articles will have the type of property allocated to them which has been preset in the profile, as long as the particular property is appropriate to the article.
1.First an article is inserted into the design. |
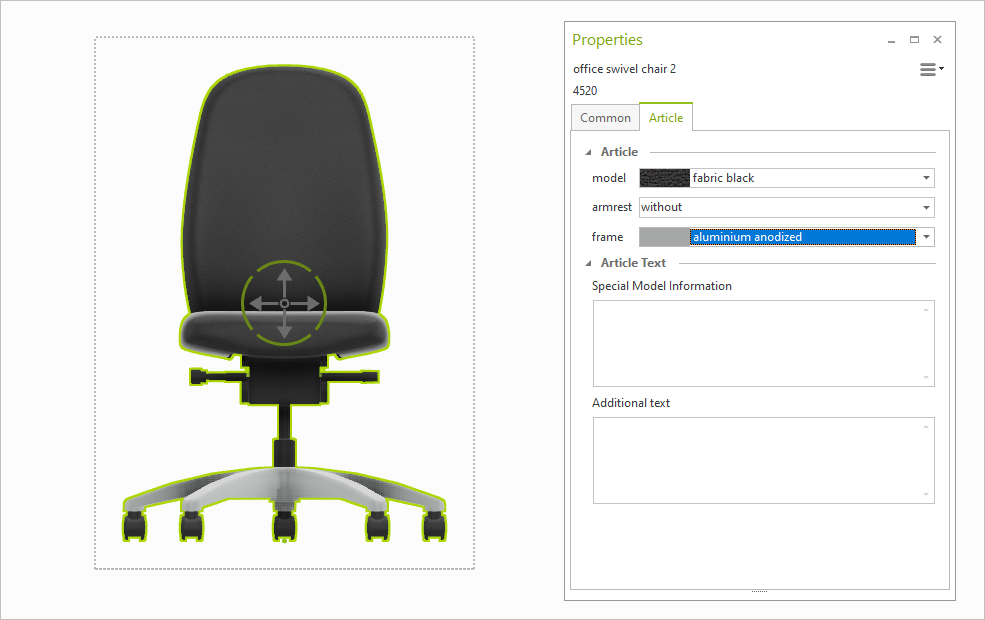
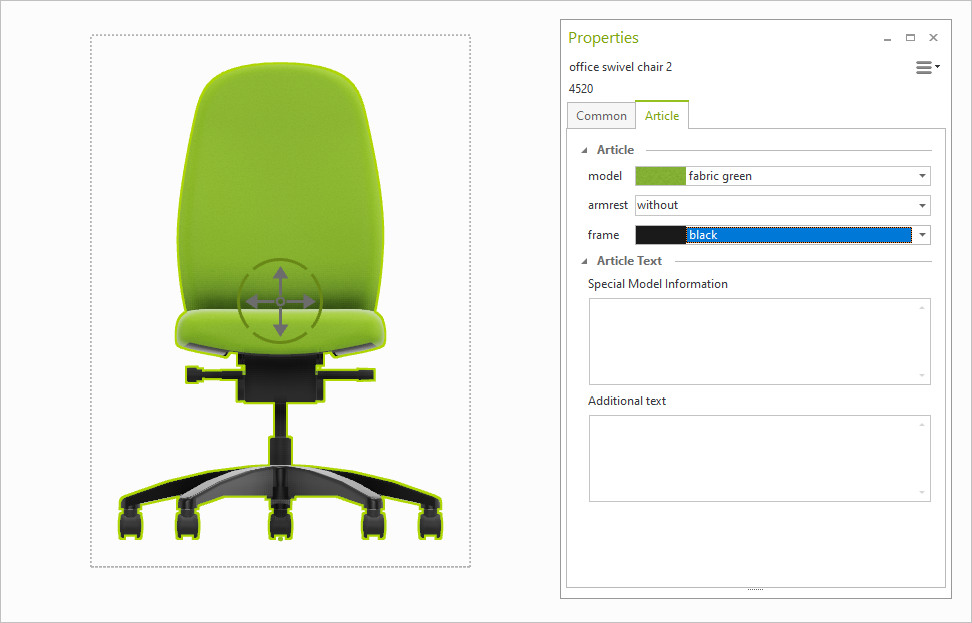
2.When the article has been inserted, the configuration of its properties is altered to the type desired for its adoption into the profile. |
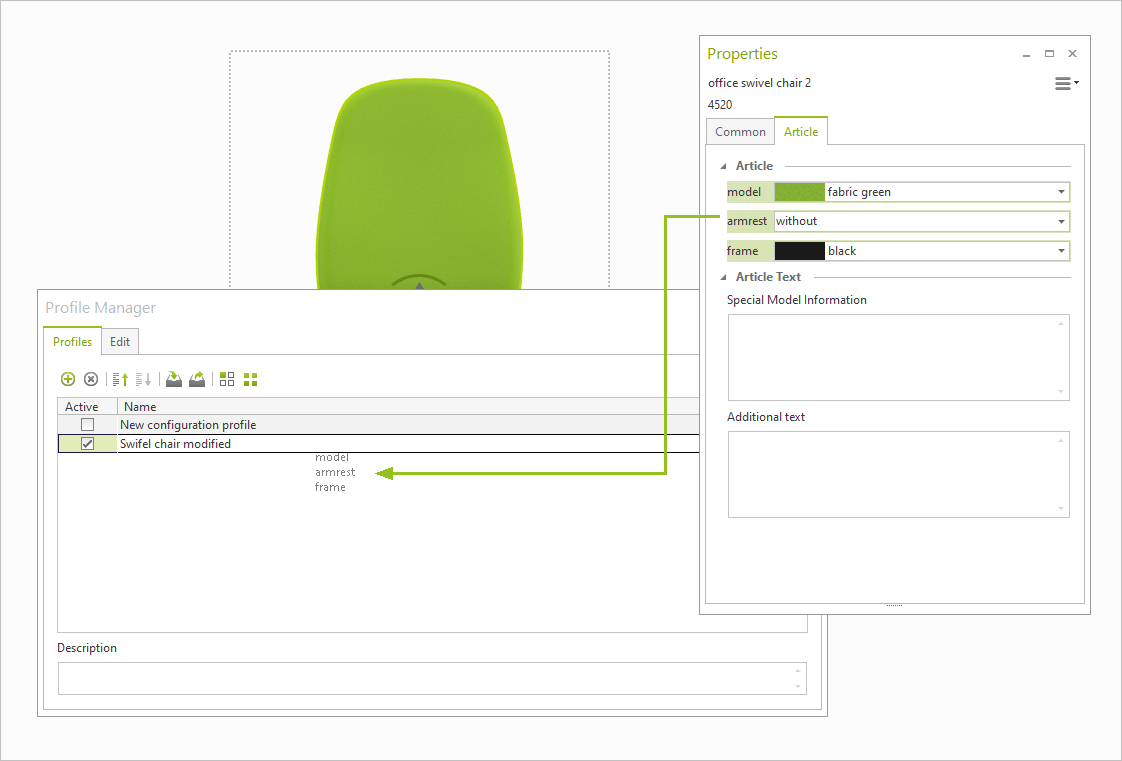
3.The next thing is to start a profile in the Profile Manager. To do this, click the Profile Manager button on the Articles tab. |

4.Now click on New Profile and enter a new name after clicking New Configuration Profile in the middle column. A description can be added using the textbox below the name. There is a column to the right of the profile name, showing how many properties have already been stored in the profile. 5.Activate the profile by clicking the checkbox Active (see highlight in image above). Multiple profiles can be active at the same time. |
There are two ways of transferring properties into a profile:
Via Drag&Drop:
1.Hold down CTRL and select all desired properties in the Properties Editor by using left click. All selected properties are highlighted in green.
2.While holding down the left mouse button, drag the selected properties onto the name oft he profile in the Profile Manager.
Via Button Add Entries: 1.Select the profile in the Profile Manager (Profile tab). 2.Switch to the Edit tab of the Profile Manager. 3.Hold down CTRL and select all desired properties in the Properties Editor by using left click. All selected properties are highlighted in green. 4.Click the button Add Entries in the Profile Manager. |
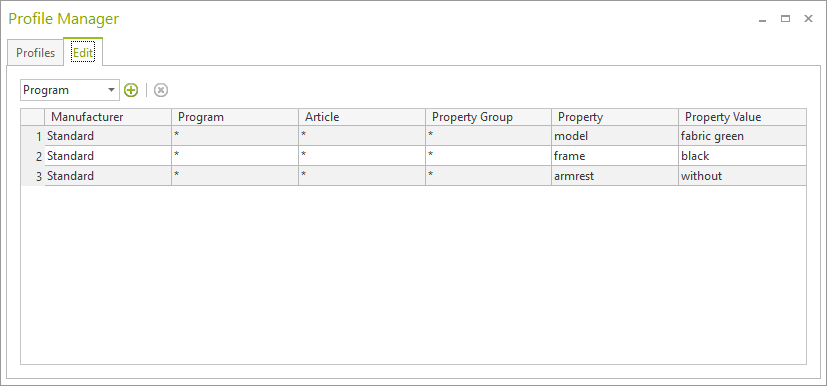
Via the drop-down menu on the Edit tab of the Profile Manager, you change the level of reference for the properties in your profiles. This is used to determine whether the properties in a profile are used for
•All articles of the manufacturer (Manufacturer)
•All articles of the program from which the properties originate (Program)
•For the group of properties (Property Group)
•Or solely for the article from which the properties were transferred to the profile (Article).
Before adding new properties to a profile, you can change the level of reference. In that case, a different level of reference applies to the newly added properties than to the existing entries. You cannot subsequently adjust the level of reference of an individual property.
Once created, a profile can be edited at any time. The following adaptations are possible:
Action |
Where? |
How? |
|---|---|---|
Change name |
Profile tab |
Click the profile name to enter new name |
Add properties |
Edit tab |
Select the desired properties in the Properties Editor and click the plus button in the Edit tab of the Profile Manager |
Remove properties |
Edit tab |
Select the properties in the Properties Manager and click the x button |
Define level of reference |
Edit tab, drop-down menu |
The level of reference can be altered for all properties subsequently added to a profile |
To filter properties of a profile by manufacturer, series, article, property etc., click the filter icon on the right edge of the respective row of the table (Edit tab of the Profile Manager). Click on (Custom…) to open a filter dialog.
Automatic Assigning of Profiles
When you have started and enabled one or more profiles, these will be automatically applied to the articles inserted as long as such articles have the same properties or property details.
Note: Active profiles within the Profile Manager list will always be processed top down. If a property detail appears in several profiles which have been enabled, meaning that there might be a conflict, the article inserted will be given the type specified in the uppermost profile in the list. Profiles can be sorted by using the Move up and Move down buttons in the Profile Manager (Edit tab).
Manual Assigning of Profiles
To assign profiles manually, proceed as follows:
1.Open the Profile Manager and enable the profiles you will be wishing to assign. 2.You can now decide whether you wish to assign the profiles enabled to all articles or only to a selection of articles. The choice is between clicking on the All Articles button or the Selection button. |
Profiles are available independently from your current drawing.
So that different users can exchange profiles and then use them, profiles can be imported and exported. This is done by means of the Import Profile and Export Profile buttons in the Profile Manager.