Stretch
The Stretch feature allows you to stretch or compress an object along one dimension. Extend tables or change the height of shelves and cabinets. You can find Stretch on the Edit tab, Construction group.
The tool works for user articles as well as for 3D models and 2D drawing elements.
Articles with commercial information have to be converted into user articles before the Stretch command can be used.
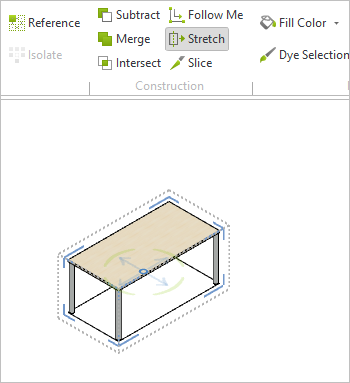
1.Select the object that you want to stretch or compress.. 2.Click the Stretch button, register Edit, Construction group ( |
|
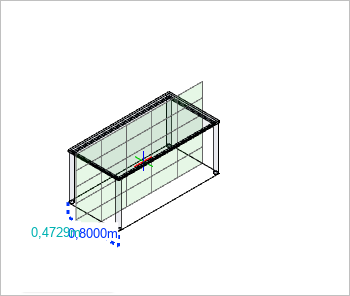
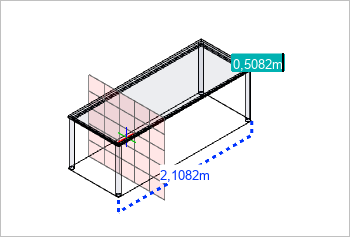
3.A plane appears within the object. The object is later stretched at a 90° angle from this plane. |
|
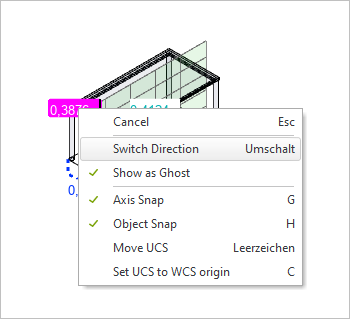
This plane can be aligned with all three directions of the UCS: To change the direction of the plane, open the context menu and click Switch direction. Repeat this until the plane lies at a 90° angle from the desired cutting direction. |
|
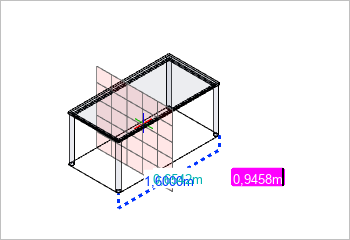
4.Move the stretch plane to the place inside the object from which you want to stretch the object. Confirm with a mouse click. |
|
5.Stretch the object to the desired length by moving the mouse and confirm with a mouse click. Alternatively, enter your desired value and confirm with Enter. To compress your object, enter the value by which you want to shorten it and place a minus sign in front of this value. |
|
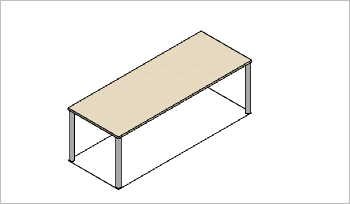
Your object is now compressed or stretched according to your settings. The part of the object that lies in front of the stretching plane in the direction of your mouse movement has been changed. All other parts of the object remain unchanged. |
|