2D Projection (pCon.planner Pro)
2D Projection (register Edit, Tools group, available in pCon.planner Pro) enables you to create vectorized views of an object.
There are different possibilities: Interactively select a projection of your object or create multiple projections at once.
Note: On our Youtube channel you will find a video on this topic |
||
|
Drawing views can be used for planning, documenting, communicating, and implementing many aspects of your project. As an important part of the work process, they contribute to precision and efficiency. In this video we will show you how to create them! |
|
2D Projection is located in the Edit tab, Tools group. 1.Select an object in your drawing and click 2D Projection to start the process. |
|
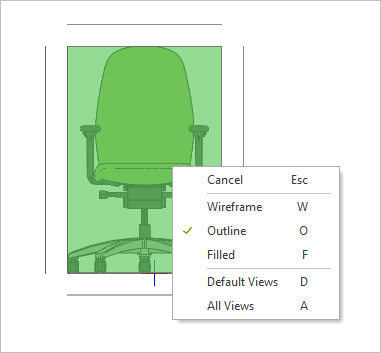
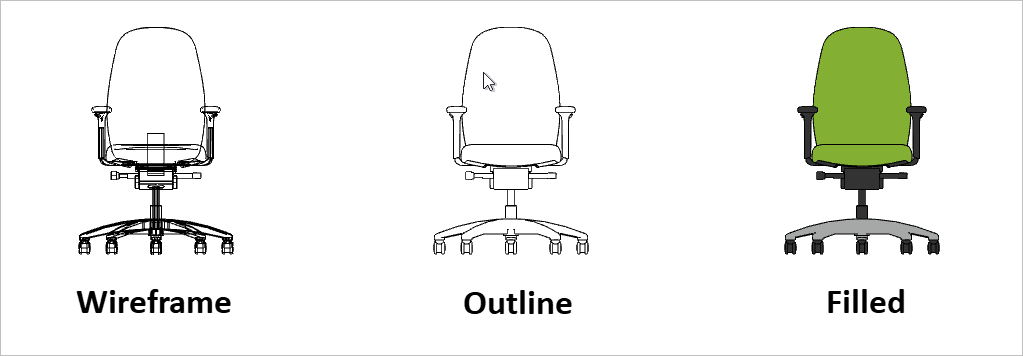
2.Select a renderer: Right-click on the object to open the context menu. Determine whether you want to create 2d projections in •Wireframe mode, •Outline mode (preset) or in •Filled mode. |
|
|
|
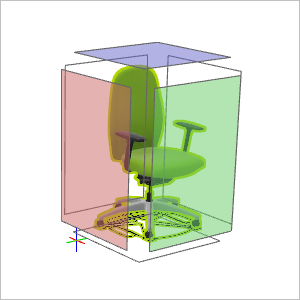
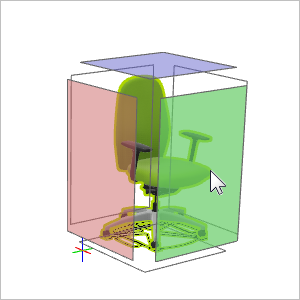
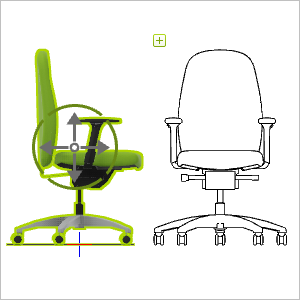
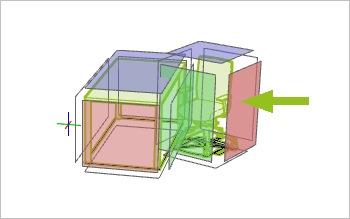
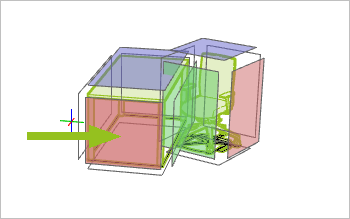
3.Click one of the planes projected around your object. Each plane marks a possible 2d image. |
|
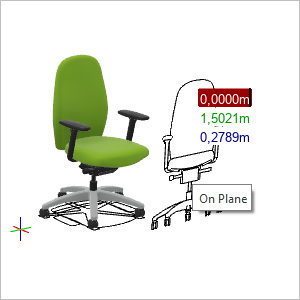
4.The projection is automatically generated and will be attached to your cursor. |
|
5.Place your projection as desired and confirm with a click on your left mouse button. |
|
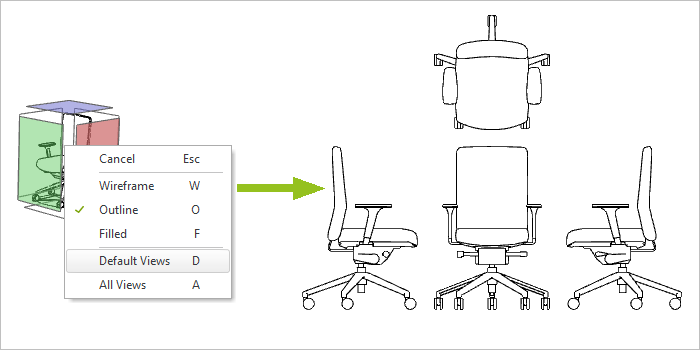
Multiple Projections: Default Views
1.Select an object and click the 2D Projection button.
2.Open the context menu and set a different render mode here if required. Open the context menu again and select Default Views.
3.The projections are generated as vector images and can be placed freely.
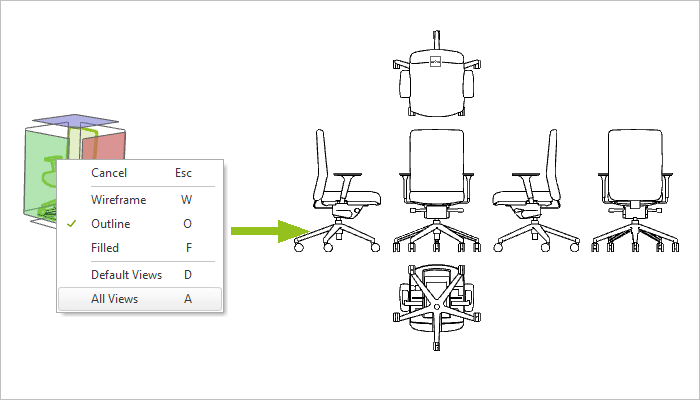
Multiple Projections: All Views
1.Select an object and click the 2D Projection button.
2.Open the context menu and set a different render mode here if required. Open the context menu again and select All Views.
3.The projections are generated as vector images and can be placed freely.
Multiselection with Differing Rotation
You can use 2D Projection on multiselected objects as well. This will generate a joint 2d projection for all of the selected objects.
If your objects are placed at an angle to each other (other than 90°), you will be offered several selection planes for the projection. You decide from which point of view the joint projection for your objects will be created. You can see this in the examples below.
Example 1: Projection of side view, oriented at chair. |
|
|
|
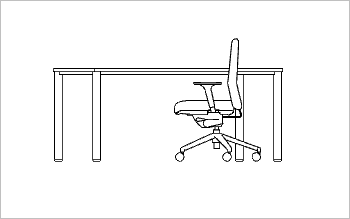
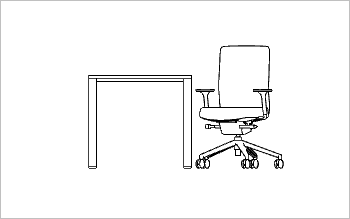
Example 2: Projection of side view, oriented at table. |
|
|
|

