AI Images
Connect pCon.planner and OpenRouter Features in the AI Image Dialog Use Current Viewport for Image Post-processing Image from Image Dialog |
pCon.planner uses various AI models for generative image creation or to enhance traditional renderings. By connecting pCon.planner with OpenRouter, an external platform for AI services, you gain access to a range of options for creative image design. Whether it’s lighting moods, material variations, or unique photorealistic details - AI supports you within your familiar workflow, allowing you to focus on what matters most: innovative, lifelike design and boundless creativity in your interior planning.
Connect pCon.planner and OpenRouter
To activate the AI image features, you need an OpenRouter API key, which you connect to pCon.planner once. You can obtain this key from an administrator or generate it yourself in your OpenRouter account.
Our onboarding guide provides you with the information needed to register at OpenRouter and on the creation of the API key. Billing is also done via OpenRouter. The cost is just a few cents per image, depending on image resolution, AI model and complexity of the prompt. |
|---|
After entering your OpenRouter key in the dialog, you will get access to all of the AI image rendering features.

1.Switch to the Presentation tab. Klick the button AI Image.
2.The dialog opens in the start view (see image below). Enter your API key in the field and click Start.
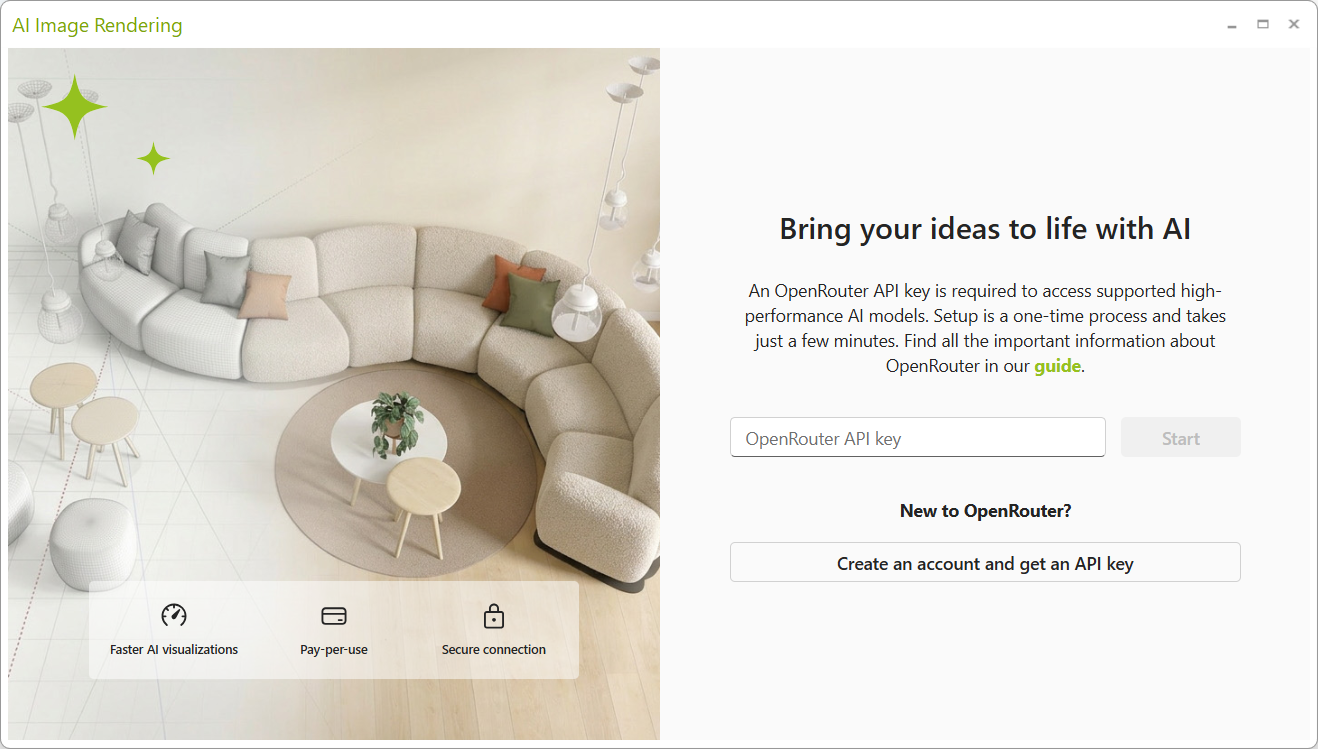
After that, the full range of functions will be available to you in the AI Image dialog.
Features in the AI Image Dialog
The table below provides you with information on the single areas and options in the dialog.
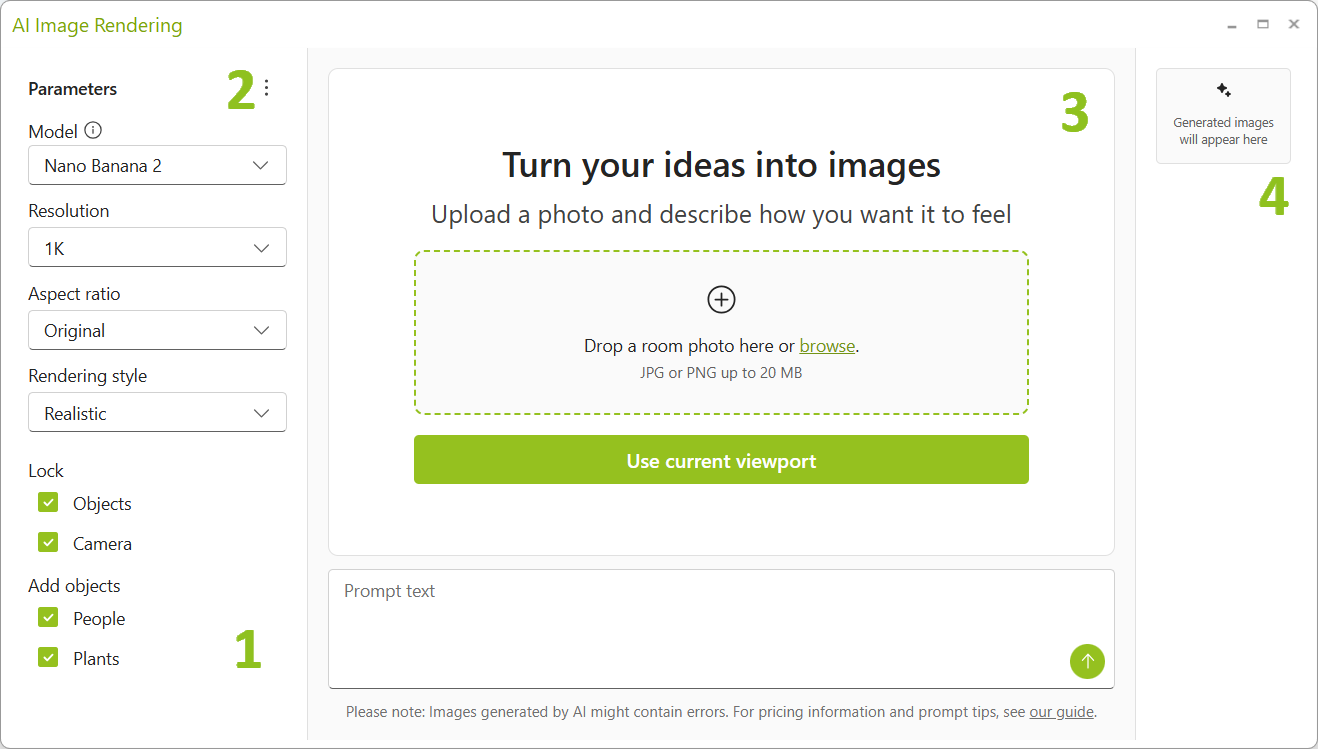
1 |
Parameter |
|
|
Model |
Select model for AI image generation. |
|
Resolution |
Define image resolution. |
|
Aspect ratio |
Aspect ratio of the image can be kept according to source or altered here. |
|
Rendering style |
Set style for the output image. •Original (use render mode from current view) •Realistic •Sketch •Comic |
|
Lock |
Objects from the drawing as well as Camera angles are locked by default. This instructs the AI to preserve the objects and camera angles in the image as much as possible. |
|
Add objects |
Add People and/or Plants to your image. |
2 |
Menu |
|
|
Help |
Learn more about AI image generation in pCon.planner. |
|
OpenRouter.ai |
Link to OpenRouter page. |
|
Reset parameters |
Reset parameters to default. |
|
Change API key |
Remove key to enter a different OpenRouter key. |
3 |
Image Area |
|
|
Use current viewport |
The current view on your drawing in the active viewport is used to generate an AI image. |
|
Upload image |
Upload an image from your local file system or drop a rendering here for post processing. |
|
Prompt text |
Enter a prompt to •Modify the image above •Create an image from scratch |
|
|
Refresh content of image after changing the camera angle in the drawing or reset previous AI operations. |
|
|
Clear image from image area, then start a new image generation process. |
|
|
Compare original content and AI generated image. |
|
|
Download image to your local file system. |
4 |
Gallery |
|
|
Gallery |
All images generated for this project will appear here. Images will be saved together with the DWG file and will appear here after opening the file again.
Unwanted images can be deleted from the gallery by clicking the X at the selected image. |


The AI Image dialog offers various ways to generate images:
•Create a generative image based on the active viewport
•Transfer a rendering from the Image dialog directly to the AI Image interface and refine it there
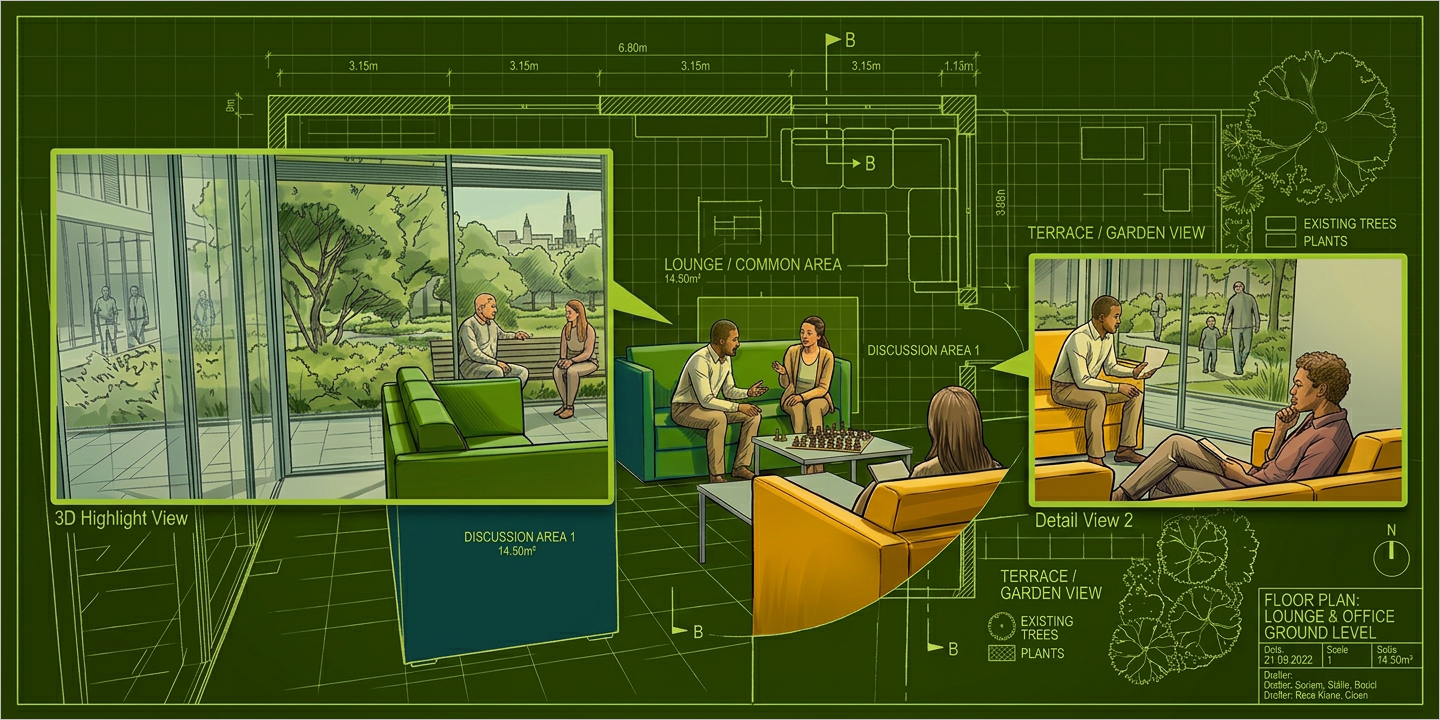
•Upload an image or floor plan from your file system to post-process it
•Generate an image from a prompt
The resulting images are stored together with your DWG file. If you open the file again, the renderings linked to your project become accessible through the AI Image dialog. Your images can also be saved locally. |
|---|
Below, you'll learn more about the various options for generating images using AI.
Use Current Viewport for Image
Proceed as follows to generate an image from your current view:
1.Open a drawing and navigate to the view you want to capture (or select the desired camera).
2.Switch to the Presentation tab and click the AI Image button.
3.In the dialog, set your Parameters as desired and click Use current viewport.
4.If necessary, enter a prompt and click the green Generate Image button in the prompt field. The image is generated and displayed in the dialog.
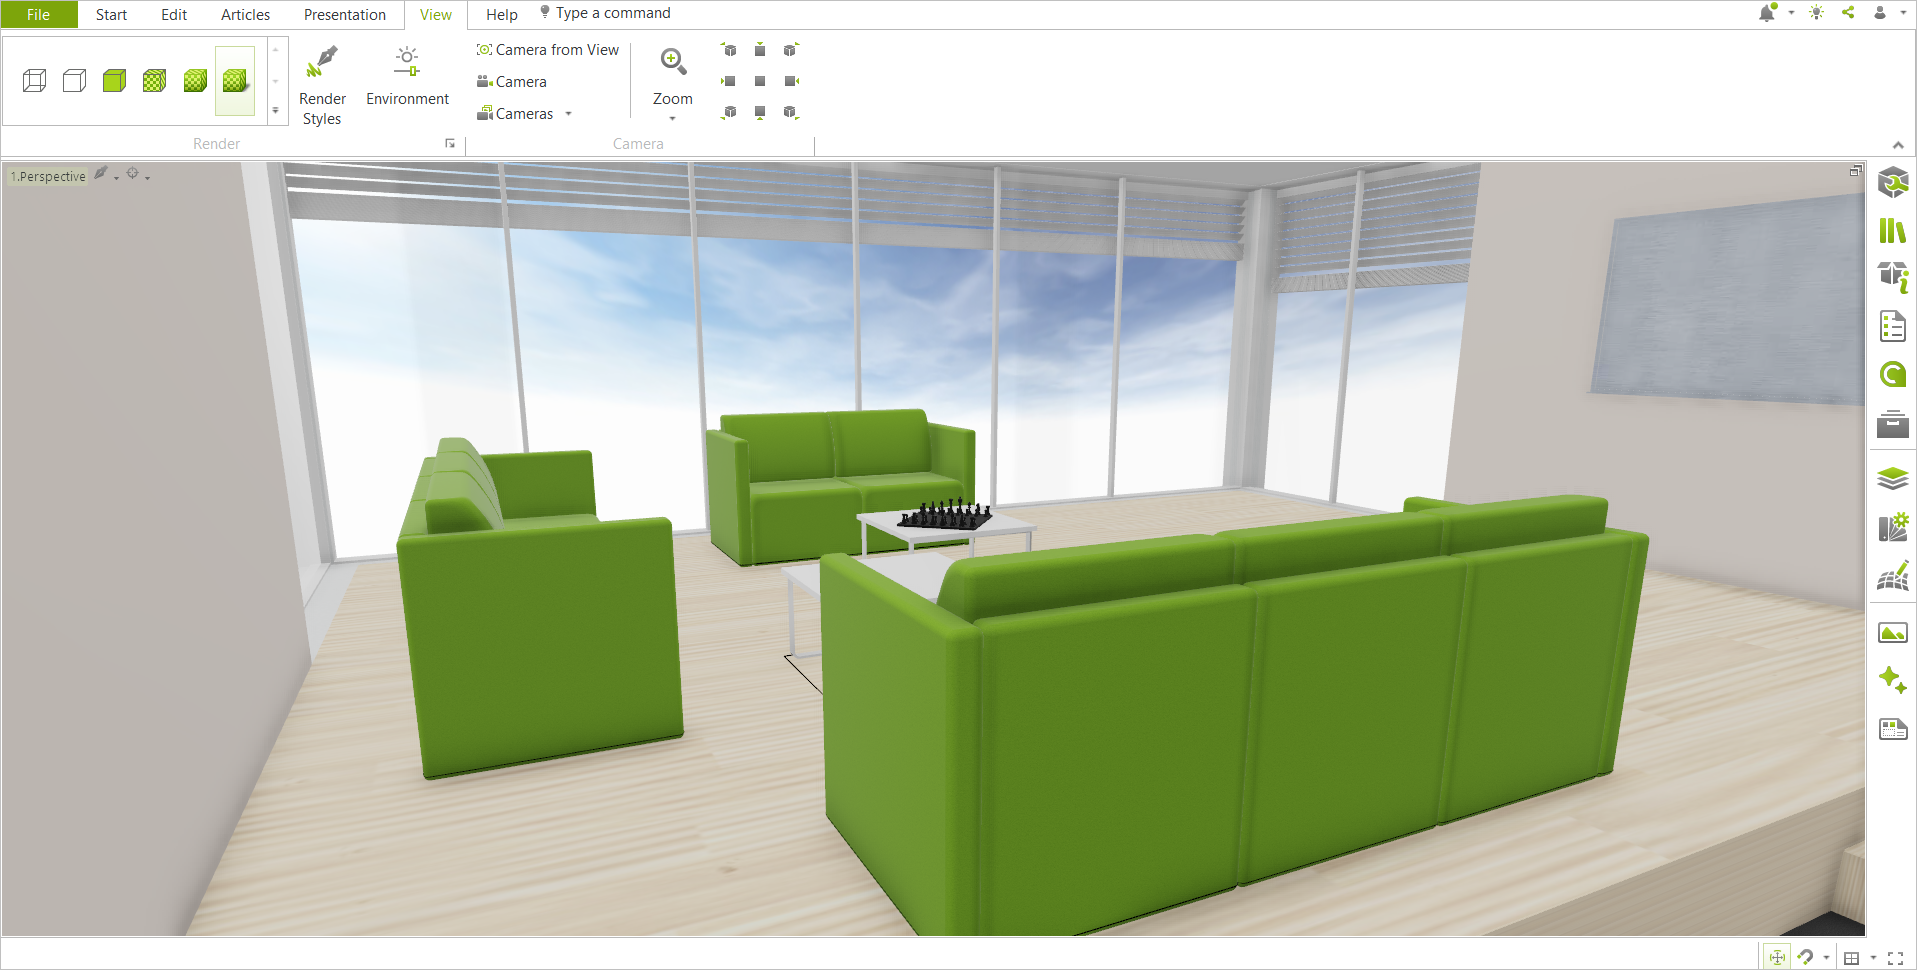
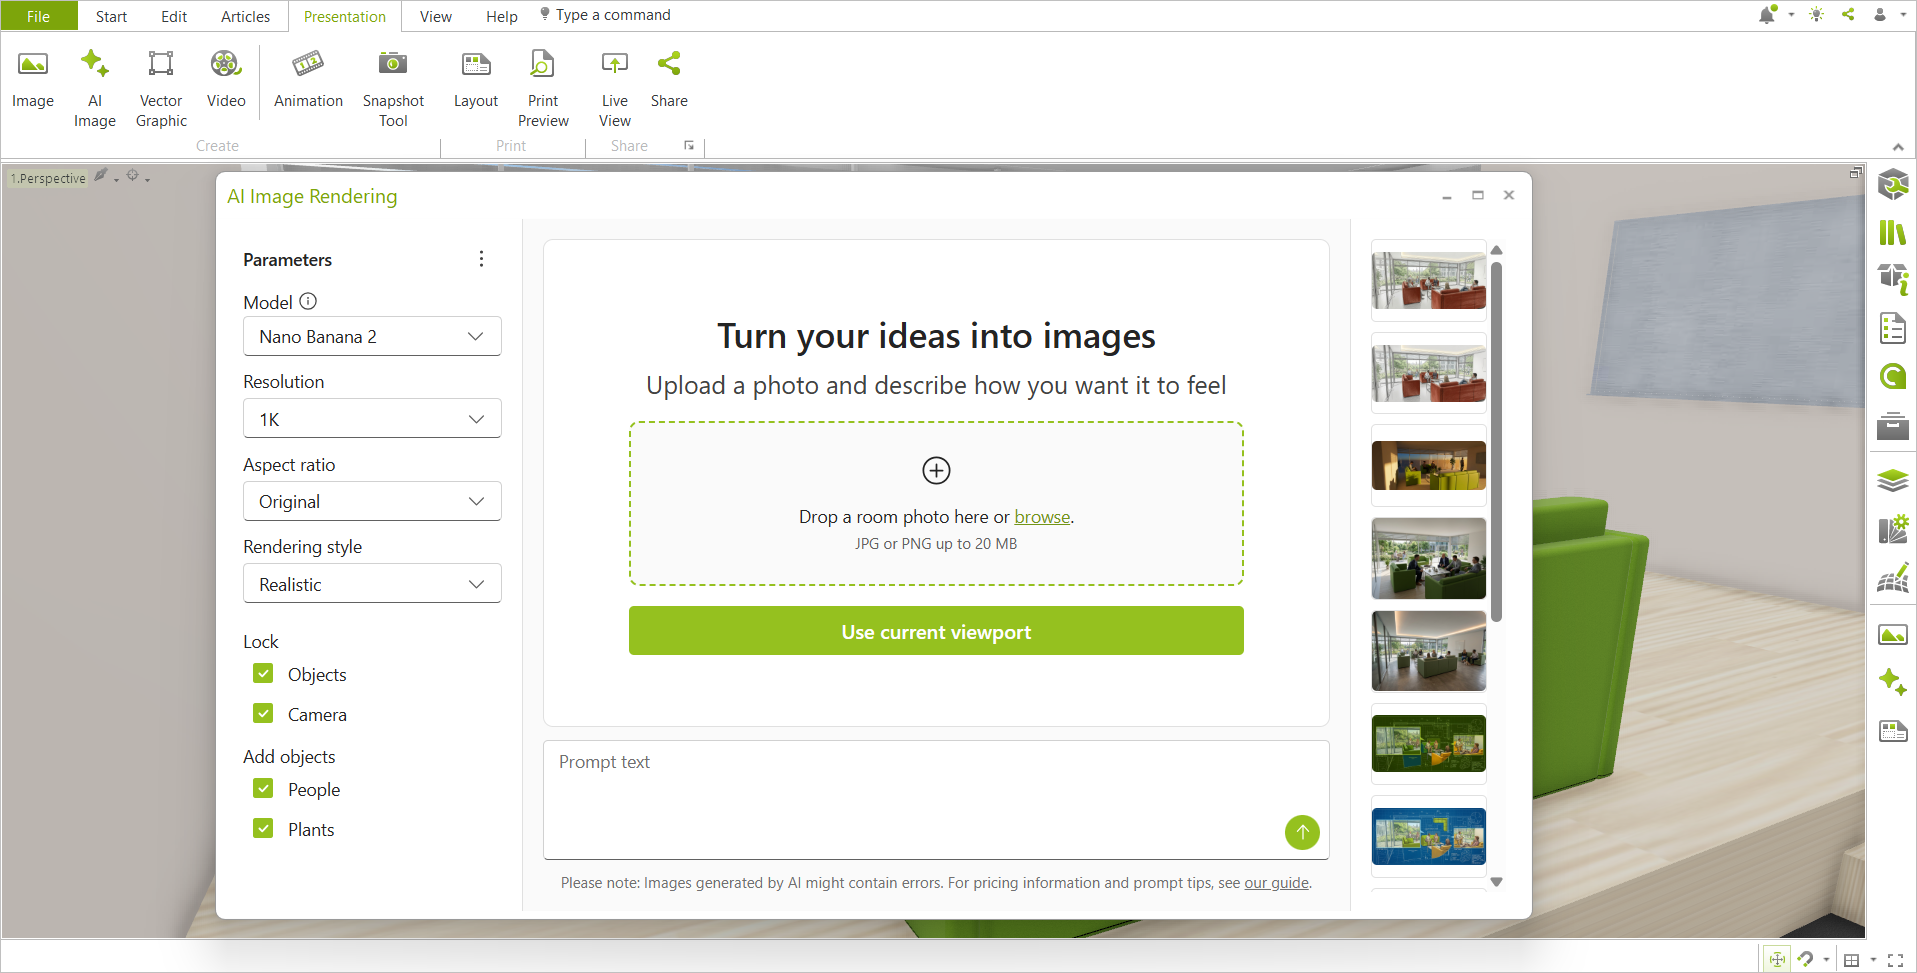
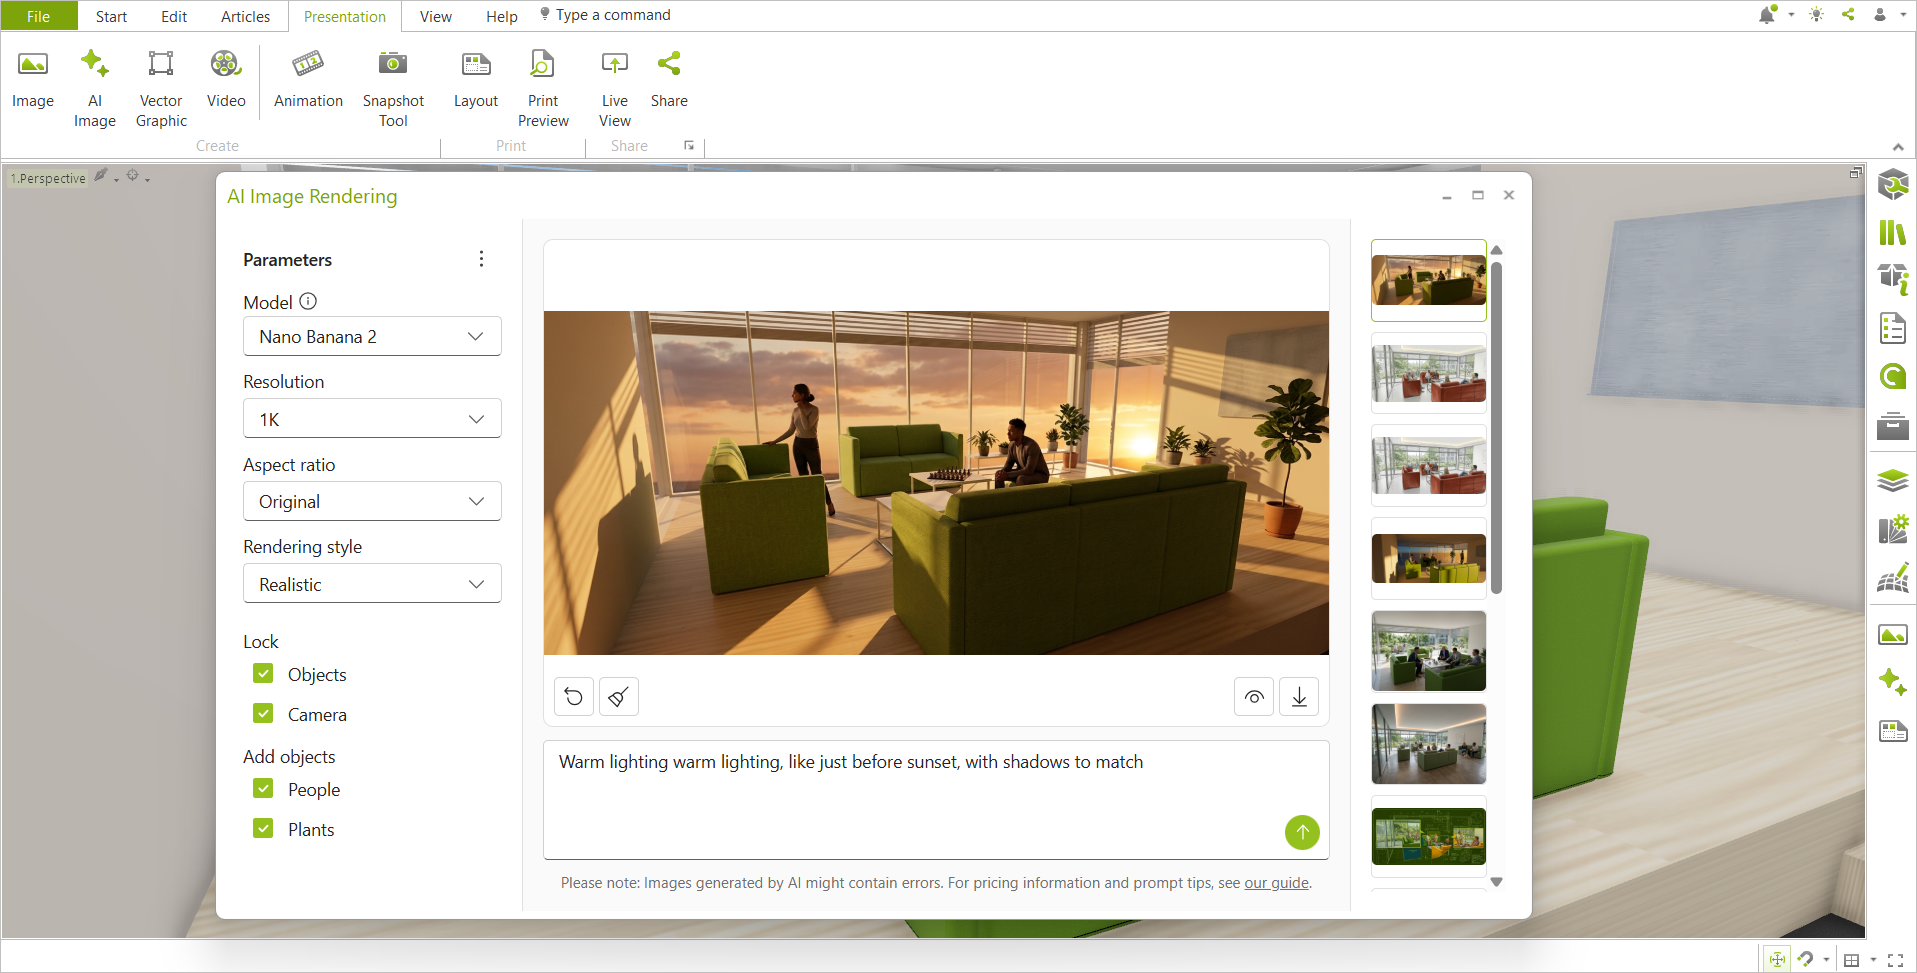
You can also use the AI Image dialog to edit your layouts by selecting a layout page as the base for image generation. The dialog remains active when you open the Layout Area. Drag the dialog over your current layout page and enter a text prompt to specify the style of the resulting image.
Post-processing Image from Image Dialog
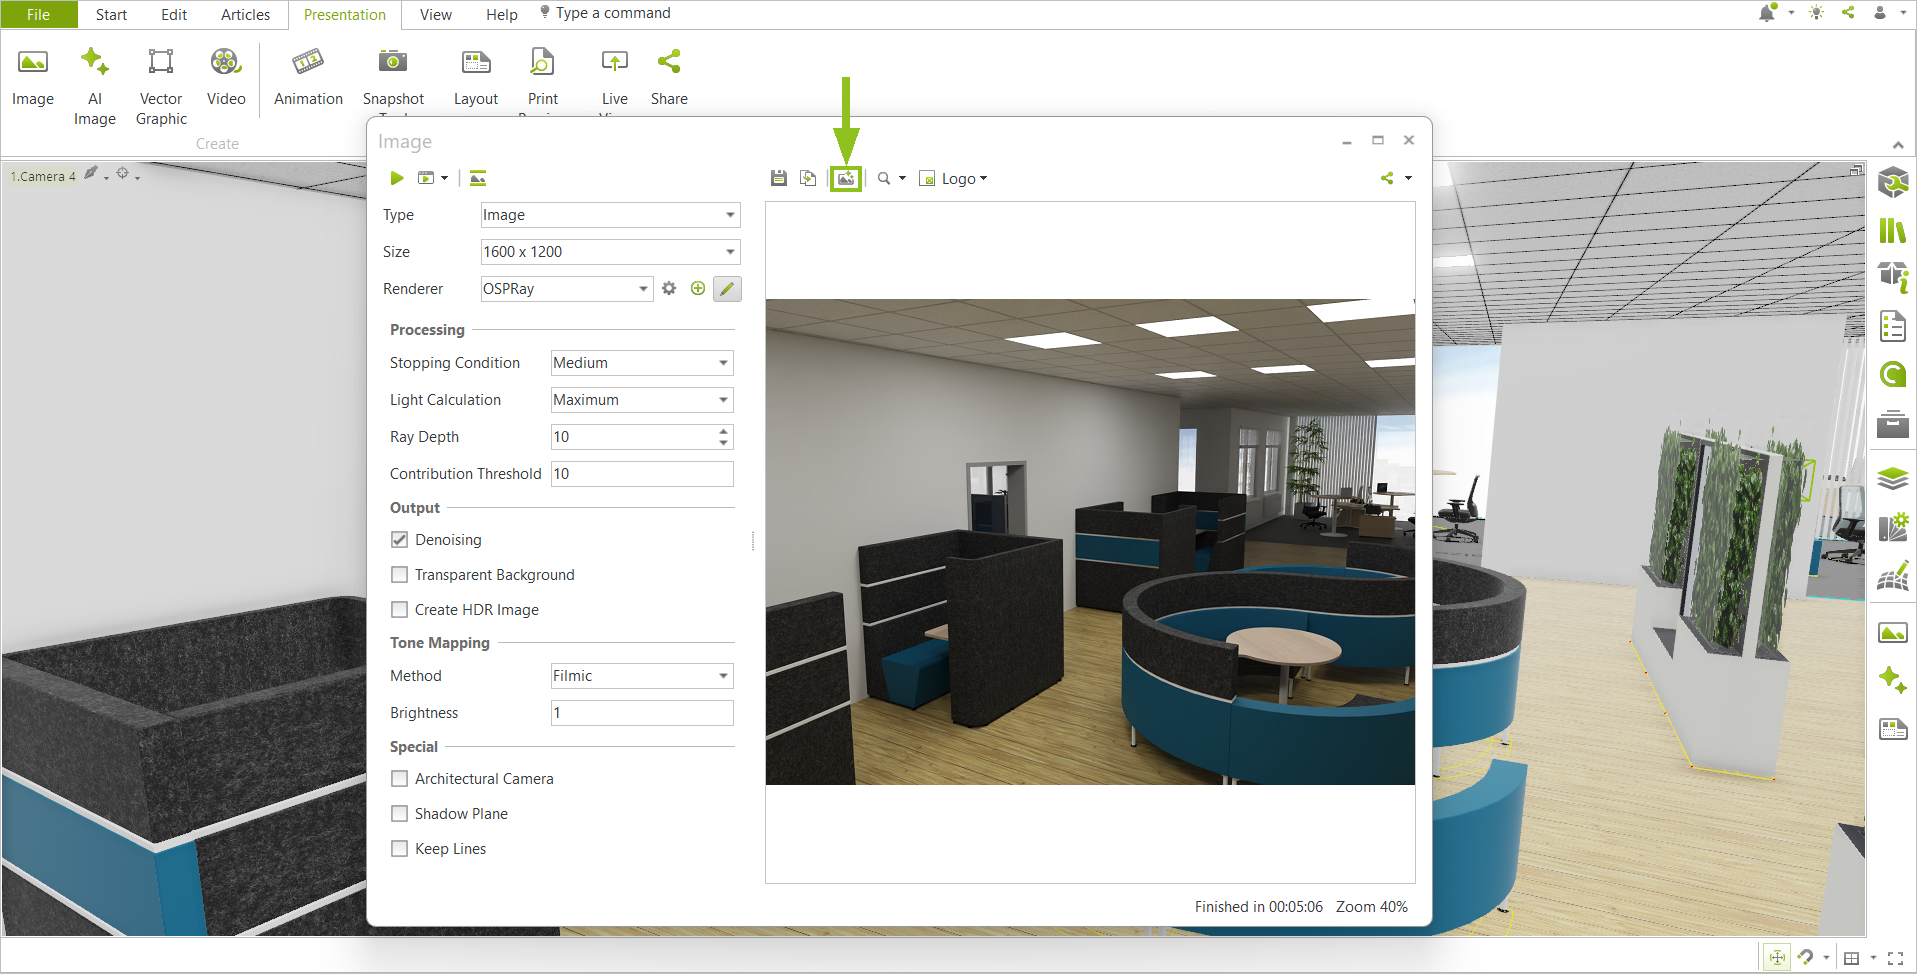
1.Open the Image dialog (Presentation tab) and render your image there.
2.As soon as the image is ready, klick the button Send to AI Rendering ( ).
).
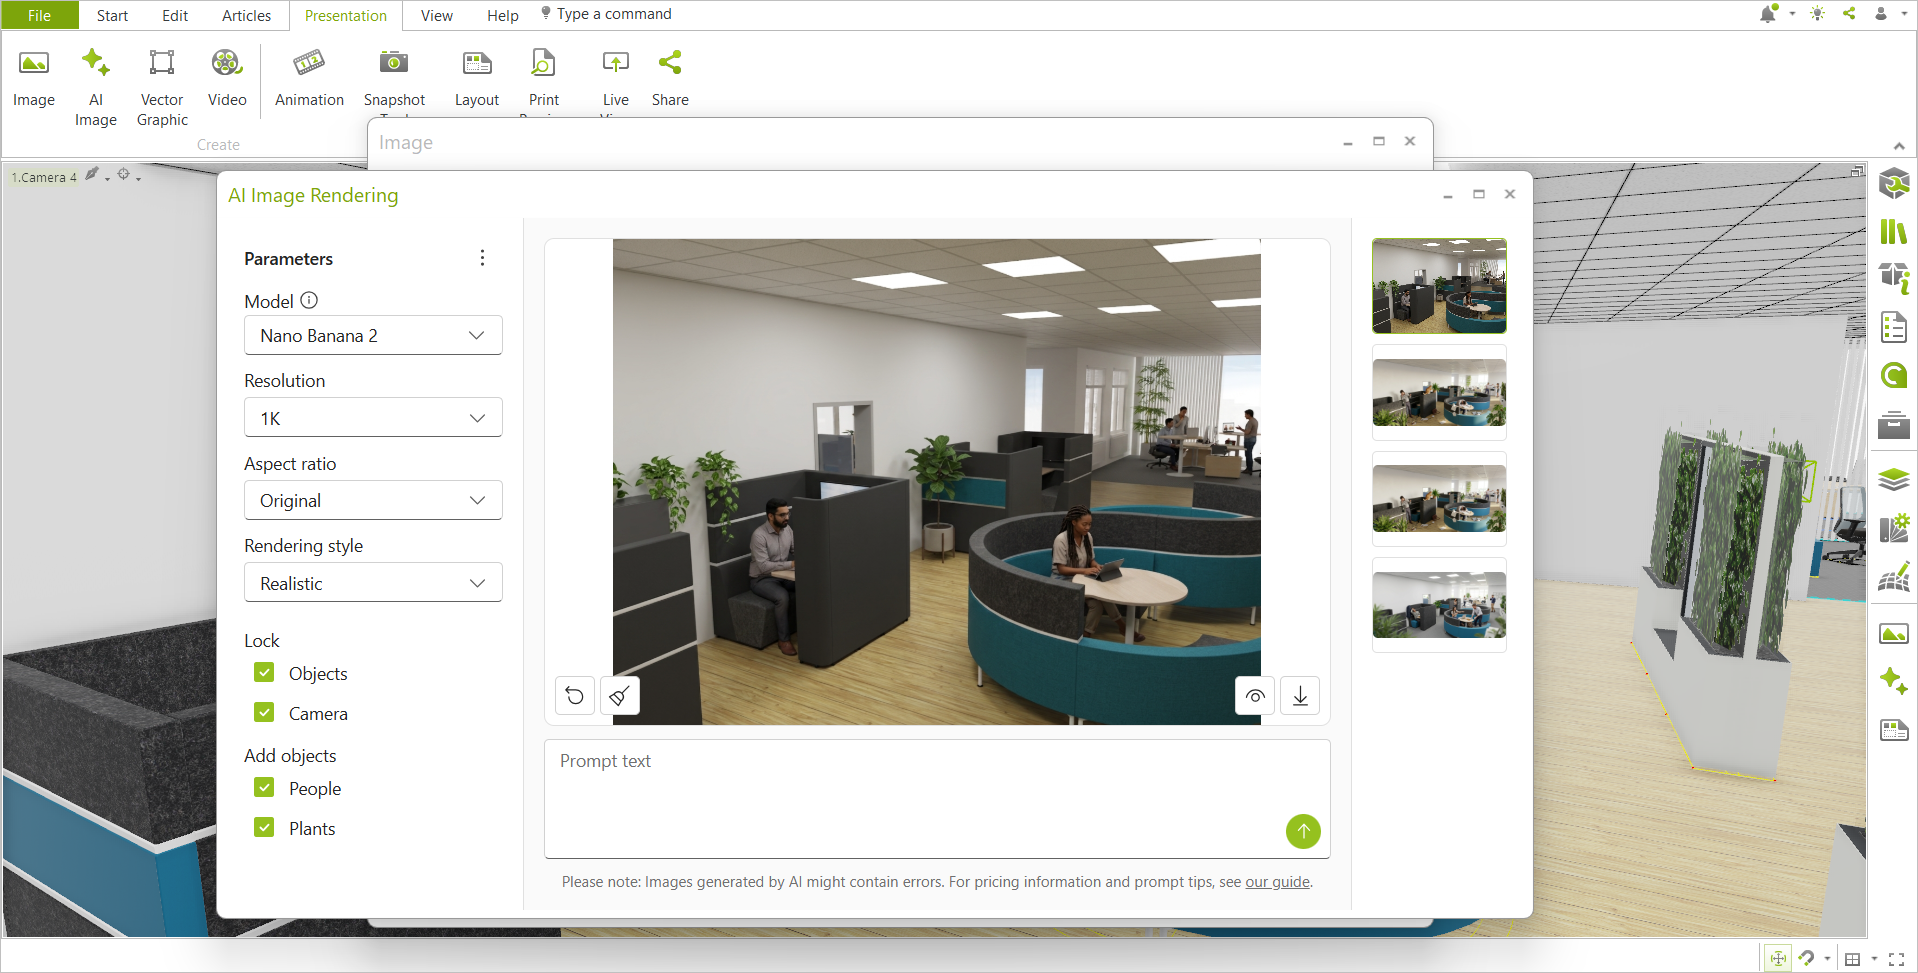
3.The rendering is transferred directly to the AI Image dialog, where it is available for further editing.
4.Set the desired parameters, add a text prompt if necessary, and click the Generate image button. The image will be generated and displayed in the dialog.
If you want to preserve a scene’s lighting conditions during post-processing with AI, follow these steps: Render your image at a low resolution using OSPRay. Import the image into the AI Image dialog as the basis for further processing, and instruct the AI via a prompt to take the lighting conditions in the image into account. |
|---|
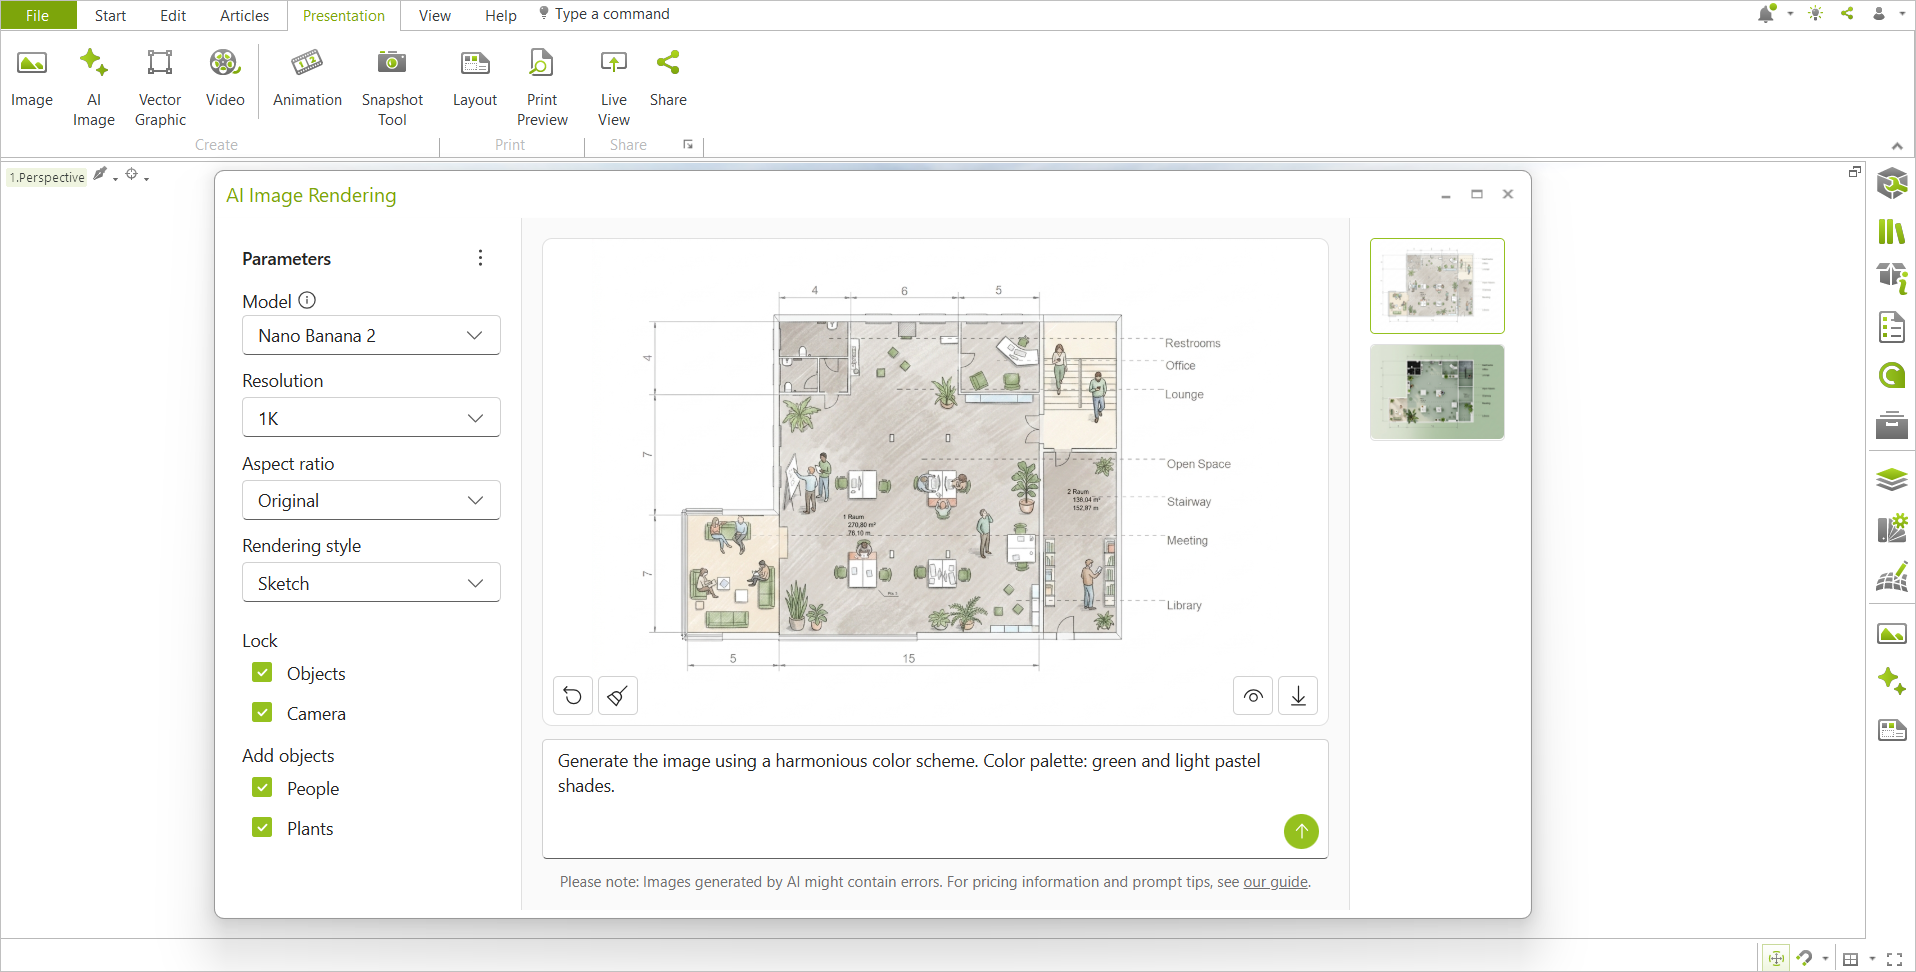
Edit Floorplan/Image from File System
1.Open the Presentation tab and click on the AI Image button.
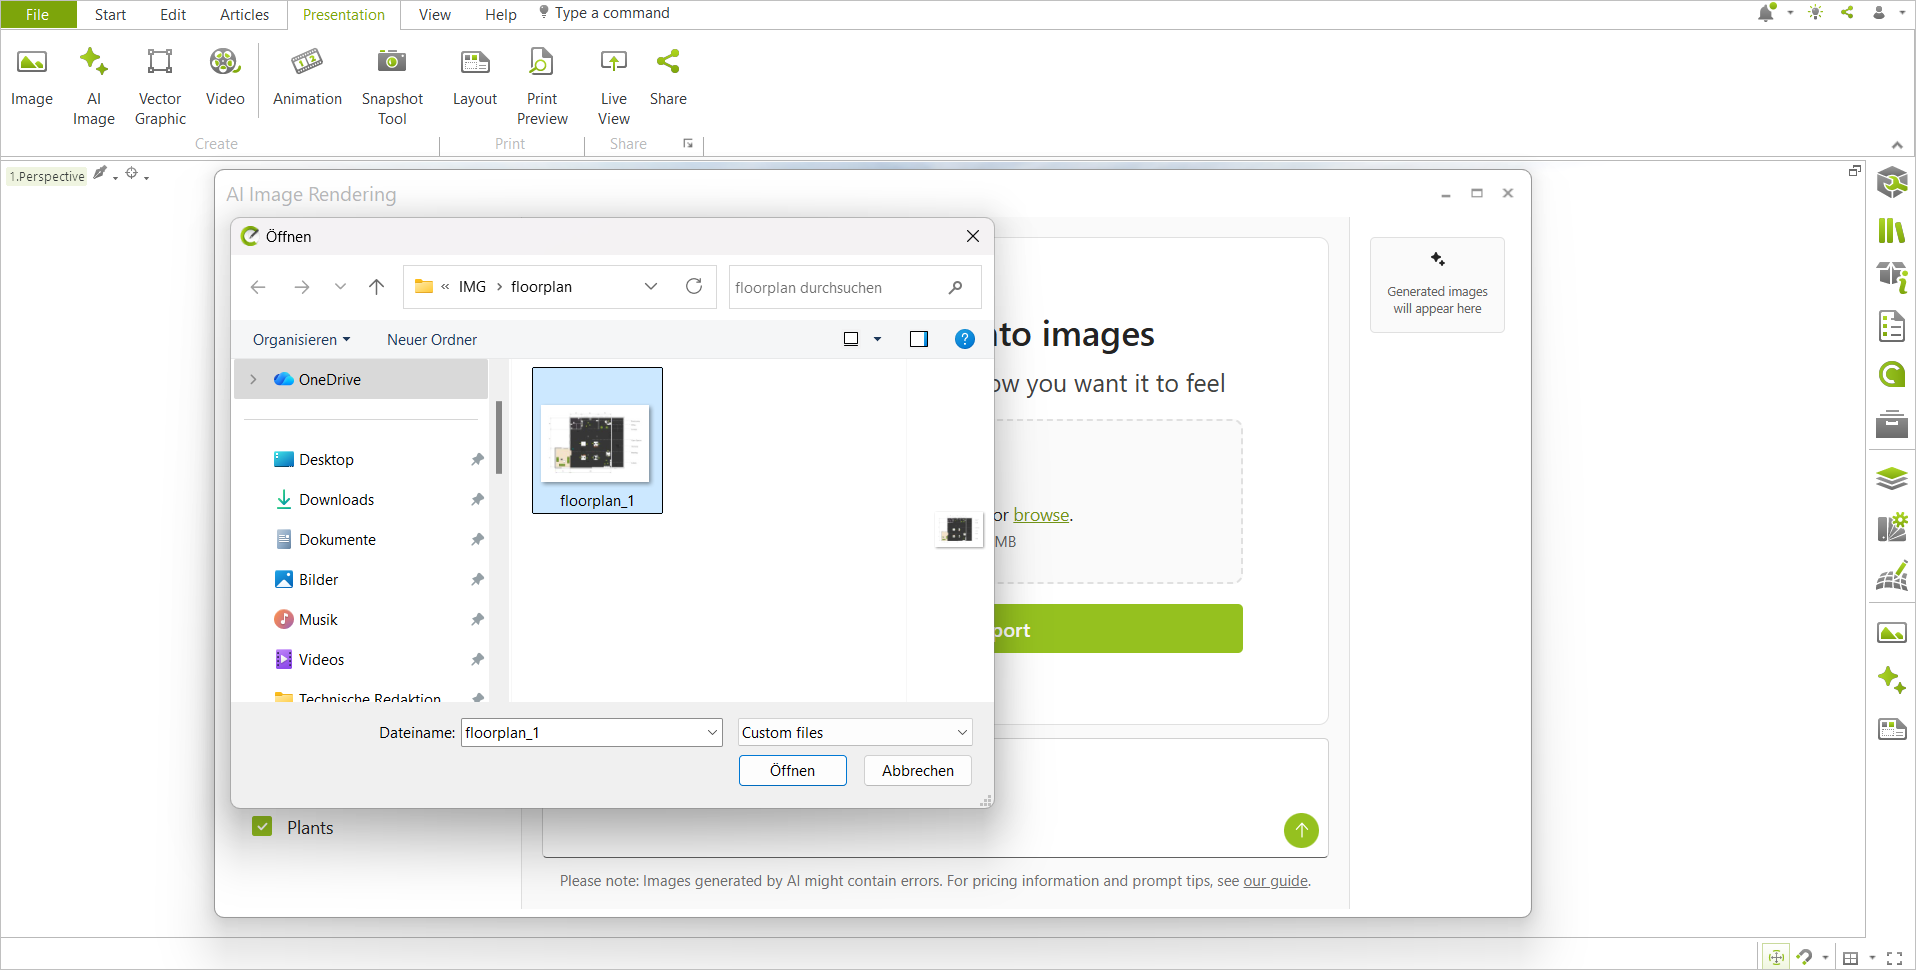
2.Drag&drop an image from your file system to the image area of the dialog. You can also click browse, select an image and click on Open. The image will now be visible in the image area.
3.Set the desired parameters, add a text prompt if necessary, and click the Generate image button. The image will be generated and displayed in the dialog.
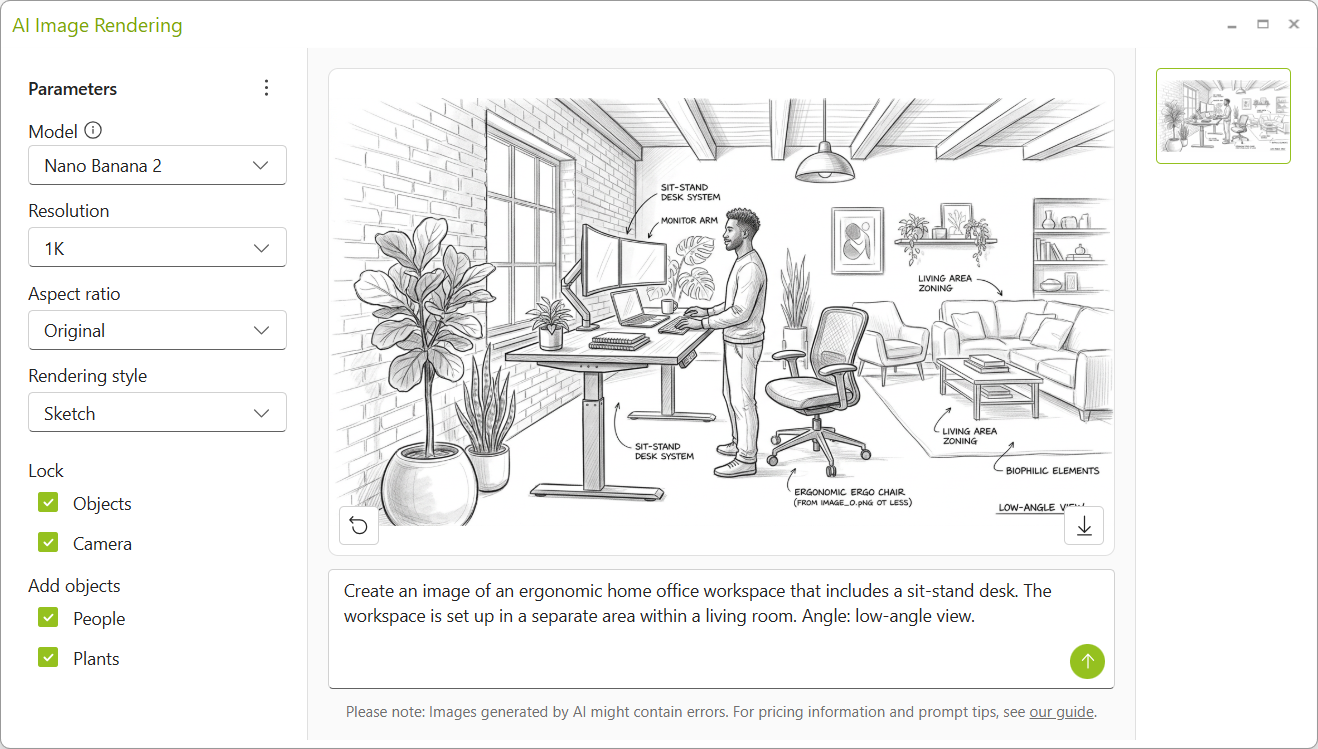
1.Begin with an empty drawing.
2.Open the Presentation tab and click on the AI Image button.
3.Enter a text prompt, defining exactly what you want to want to depict.
4.Click the Generate image button. The image will be generated and displayed in the dialog.
Below you will find additional information on working with AI in pCon.planner.
We currently use Google Nano Banana. You can find a description of the strengths and weaknesses of the various Nano Banana models in our onboarding guide.
Please note that the selection of AI engines available under Model is subject to change or expansion.
The following gives you a short introduction on how to craft more precise and creative prompts.
Please note that a prompt that gives specific detail leads to more accurate results. The more details you add, the more precise your prompt can be. The more precise and detailed the prompt, the better the result. |
|---|
Recommodation |
Example |
Basic formula for prompts: Subject + Action + Location/Context + Image Composition + Style. |
A person in business attire, sitting at a typical office desk in front of a computer, engrossed in an online meeting. Setting: A quiet area in an office. The person is shown in profile, a full-body shot taken roughly at eye level. Style: photorealistic, fine grain, cool colors, Polaroid look. |
After generating the image, the prompt can be further refined. The key question here is: What should be kept, and what should be changed? |
Place an additional person on the empty sofa on the left. Have the person read a book. Keep the rest of the image unchanged. |
Include parameters from the dialog box - save on text length. |
Set the rendering style. Use the Add objects option. When using a pre-rendered image or the current viewport, the composition, location, and subject are already set. Focus here on what you want to change or add using the prompt. |
Describe the lighting of the scene in detail |
Backlighting just before sunset, which casts long shadows. Cool studio lighting that evenly illuminates the subject. For post-processing OSPRay images from pCon.planner with custom lighting: Keep the light sources and lighting setup from the original rendering. |
Define camera type, photo style, and color style. |
Polaroid photo, featuring a harmonious color palette with warm, pastel orange tones. |
Specify materials and textures precisely. |
Chair upholstery in #95c11f, coarse woven fabric. |