Arrangement
Use the Arrange command to distribute copies of a selected object on a previously selected area.
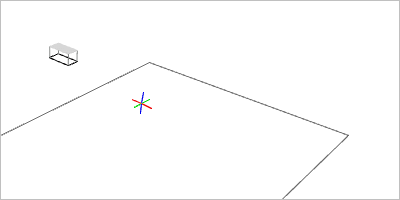
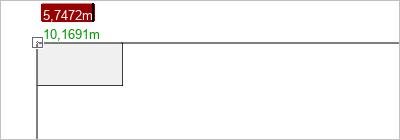
1.Use the 2D drawing elements such as circle, rectangle or (closed) polyline (Start tab, Drawing Elements group) to draw the area on which the copies of your object will be distributed. |
|
2.Place the object you want to duplicate in your 2D drawing shape. The object serves as a starting point for your distribution |
|
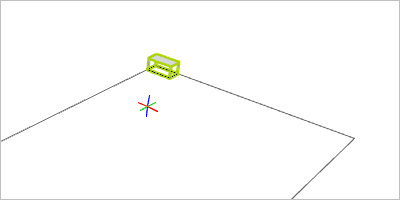
3.Select the drawing element that limits the area for the arrangement. |
|
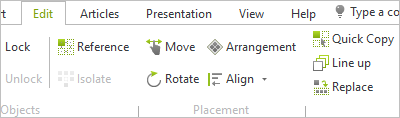
4.Switch to the Edit tab and click Arrangement, Placement group. |
|
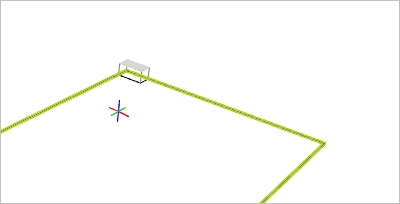
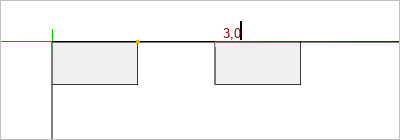
5.Select the object whose copies you want to distribute within the 2D form. 6.With another click you select a base point for the distribution. It should be located on the object to be distributed. |
|
Note: The base point is the point from which the objects are distributed on your arrangement area. It defines the starting point of the distribution. The horizontal and vertical distances between the objects are defined in relation to the base point. |
|
7.Define the horizontal distance between the copies by entering a value and confirming with Enter or by clicking a point in your planning. |
|
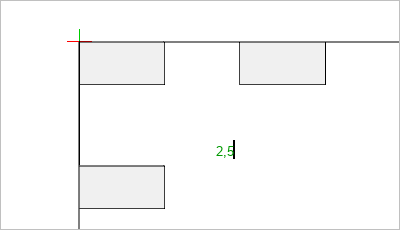
8.Set the vertical distance between the copies by entering a value and confirming with Enter or by clicking a point in your plan. |
|
1.pCon.planner will now create copies of your object and distributes them in the arrangement area according to your desired spacing. |
|
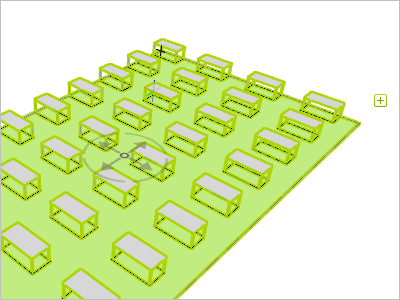
Once the arrangement is created, the dynamic tab Arrangement is available. It remains displayed as long as the Arrangement command is active. You can access it again by clicking on an object in your arrangement.
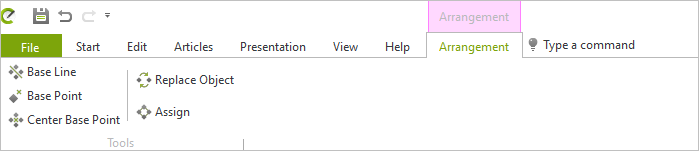
The following commands can be found on the Arrangement tab:
Option |
Content |
How to proceed |
Base Line |
Change the angle of the line on which the objects are distributed. |
•After clicking the command Base Line, a line appears at the base point •Rotate the line by moving the mouse or entering an angle and confirming with Enter •The objects in the arrangement automatically align themselves according to the angle of the line |
Base Point |
Move base point. |
•Move base point by clicking the left mouse button •Objects align themselves to the new base point |
Center Base Point |
Move the base point to the center of the arrangement area. |
•Click on Center Base Point to move the base point to the center of the arrangement area •Objects align themselves to the centered base point |
Replace Object |
Replace arranged object with another object. |
•Select arrangement and left click on Replace Object •Select new object •Select base point on object •Objects in the arrangement are replaced by selected object |
Assign |
Assign arrangement to another arrangement area. |
•Click Assign •Click to select a new closed 2D shape: Arrangement is taken over for this area |
Editing Arrangement via Properties Editor
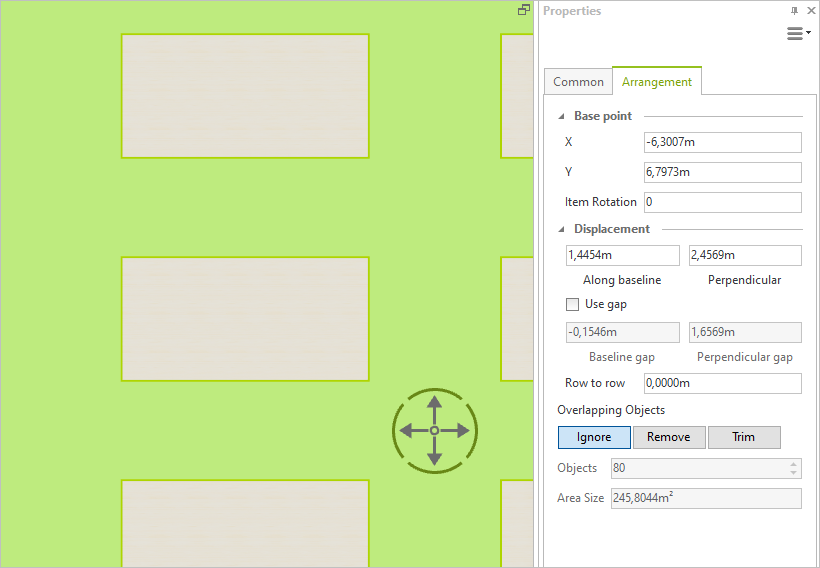
An active Arrangement can also be edited by means of the Properties Editor:
Option |
Content |
Base Point |
Move X and Y coordinates of the base point |
Item Rotation |
Set rotation of objects in the arrangement, arrangement itself is not rotated |
Displacement |
|
Along baseline |
Set distance from object center to object center along the baseline |
Perpendicular |
Set distance between object centers perpendicular to base line |
Use gap |
If this option is activated, the distance from object edge to object edge is used to align the objects |
Baseline gap |
Enter distance from object edge to object edge |
Perpendicular gap |
Set distance between object edges perpendicular to base line |
Row to row |
Enter offset between rows |
Overlapping objects |
Objects that intersect the Arrangement Area: •Ignore: Objects are kept, even if they are partly outside the arrangement area •Remove: Objects that cut the edge of the shape are completely removed •Trim: Removes parts of the objects that are outside the shape |
Objects |
Display of number of objects in the arrangement |
Area Size |
Display of the size of the Arrangement Area |