Colors
In pCon.planner, colors refer to fill colors (defined, for example, as RGB or hex color codes).
In contrast to materials, colors do not have any gloss, reflection, transparency values, etc. They vary from textures in their lack of surface characteristics from images.
The Fill Color tool in the Material Group, Edit tab, allows you to color in objects or parts of them as well as surfaces in the plan. This is how:
|
1.Click on the Fill Color button. 2.Select a color from the chooser or define one yourself. The mouse cursor will then appear as a paint bucket. 3.Click on the objects you wish to color. 4.To cancel the assignment, either press Esc or select Cancel from the context menu (right click). |
With the Dye Selection tool, you can completely color selected objects.
1.Select the relevant objects in your design. 2.Click on the Dye Selection item in the Material group, Edit tab. 3.Select a color from the dialog that opens or define one yourself. The color will be assigned to the surfaces of all selected objects. |
Fill Color for Drawing Elements
|
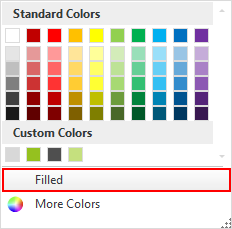
You can set a fill color for closed drawing elements (circle, polygon, rectangle…). Once a fill color is set, all surfaces of a drawn object will be displayed in that color. 1.In the Drawing Elements group under the Start tab, click on the down arrow next to the button Color. 2.Select Filled in the menu (see picture on the left). A checkmark will be visible for this item. 3.By checking the item, all closed drawing elements will be filled with the selected color. |
To deactive the set selection, click on the item again. The checkmark will disappear.
You can transfer the color of one object onto others by using the Material Picker. This is how:
1.Click on the Material Picker item in the Material Group, Edit tab. The mouse cursor will change into a pipette symbol. 2.Click on the object from which you wish to transfer the color. The mouse cursor now appears as a paint bucket. 3.Now click on the objects to which yo wish to assign the color. 4.To cancel the color assignment, either press Esc or select Cancel from the context menu (right click). |
|
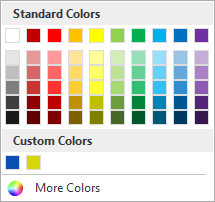
In the Color Selection Menu, you will find the button More Colors. This will open a menu where you can Define Custom Colors using their RGB values. The dialog also includes a color picker (marked in red in the image on the left). 1.Click on the pipette (see Figure 1). 2.Hold down the left mouse button and drag it to a desired color within your screen. 3.The currently selected color will be shown in the color preview (Figure 2). 4.Let go of the mouse as soon as you see the color you would like to use. 5.Click OK. |
