Create Wall Objects
In addition to using ready-made wall objects, you can also install any 3D object you like onto a wall. To do so, use the Attach object to wall command (![]() ) in the Room Elements group on the Start tab.
) in the Room Elements group on the Start tab.
This function is used to link 3D models which are not items in the Wall Objects Catalog to walls. It might, for instance, suit your design to link a white board or some storage shelves permanently with a wall. In this way, it is also possible to use 3D Drawing Elements as wall elements, so that you could, for example, lay a cable duct.
|
|
Creating Wall Object
This is how to create a Wall Object from scratch.
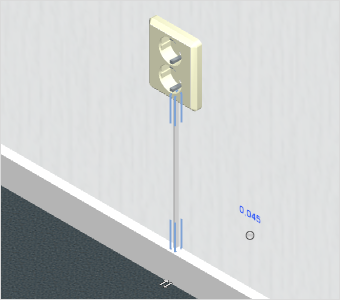
1.First draw the Wall onto which you wish to attach a wall object.
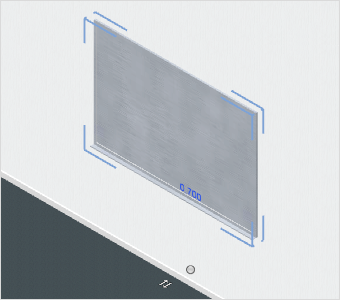
2.Insert the desired object into your design. You can use a CAD model or an Article or you can create a 3D drawing element.
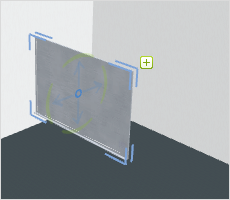
3.Place the object on the Wall.
4.Simultaneously select the object as well as the Wall.
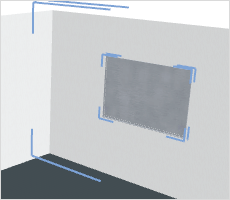
5.Now click on the Attach object to wall command in the Room Elements group on the Start tab. Wall and object will now be firmly linked.
|
|
|

There is more information on inserting 3D objects in the Catalog and Drawing Elements sections.