Pipework
|
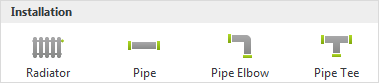
In the Installation category there are three types of pipe element: Pipe, Pipe Elbow and Pipe Tee. |
There are three steps to the creation of a pipework design: First, draw simple lines to serve as the basis for the ensuing insertion of pipe elements. In the next step, place the pipe elbows and the pipe tees at the corners and intersections of your sketch. Now complete the design by adding the straight pipe elements.
There is a full description of the procedure in the following:
Using Lines to Create a Basic Sketch
|
The basis of any Pipe in pCon.planner is that there should be a draft sketch at first. To create such a sketch in connected lines, use the Draw multiple lines tool on the Start tab in the Drawing Elements group. This step will make the manual positioning and alignment of the pipe elements easier in the second step. The example illustrates how the final sketch looks like. |

Positioning Pipe Elbows and Pipe Tees
When the basic sketch has been produced, the second step is to position the elbows and tees along the lines that have been previously drawn.
To do this, you need first to set the diameter of the pipes for the particular case in the Room Settings dialog (which is reached from the button marked in red in the shot on the right). |
|

To place the elements correctly, it will first be necessary to put elbows and/or tee pieces at the corners and/or intersections of the intended pipework system. There is a special positioning mechanism in pCon.planner which makes this easier. It is activated automatically when an elbow or tee is selected:
|
|
|
|
|
|||
1.) |
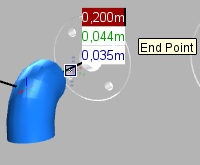
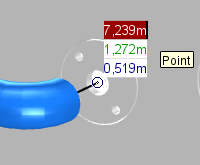
The elbow is attached to the mouse cursor at its base point. Position it at the intersection of the two guiding lines and confirm with a click. |
|
2.) |
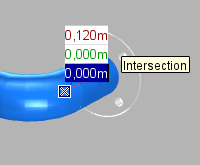
Now set the first directional point by clicking onto the line itself or the end of the line. |
|
3.) |
The next step is to set the second directional point. The elbow will then be turned. |

When positioning is complete, the next Pipe Elbow or Pipe Tee of pipe is automatically available at the cursor. The process can be continued. End it by pressing Esc.
The last step is to complete the straight pipes. Both elbows and tees have special snap points at the center of their end openings to make the correct positioning easier. The straight pipes are then simply drawn by connecting the two snap points:
|
|
|
|
|
|||
1.) |
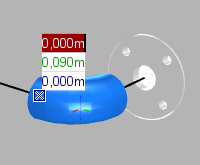
Place the cursor on the end point of the guiding line or on the center of the elbow or tee pipe element. Confirm the selection with a click. |
|
2.) |
Now drag the straight piece of pipe to the next snap point, confirming with a click. |
|
3.) |
When positioning is complete, the next straight piece of pipe is automatically available at the cursor. The process can be continued. |
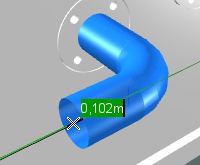
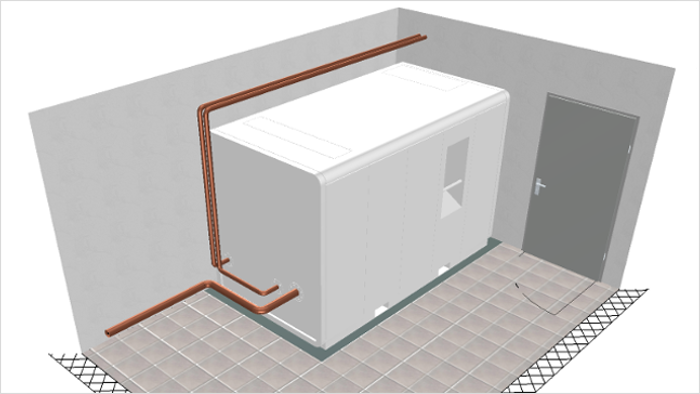
The process can be continued until it is ended by pressing the Esc key. The next screenshot shows the completed design for the installation: