Snapshot Tool (pCon.planner Pro)
Users of pCon.planner Pro have the Snapshot Tool available. It is a tool that creates thumbnails of OFML articles, user articles and set articles. The images are used in the Article List and automatically exported for use in pCon.basket.
The Snapshot Tool is to be found on the Presentation tab, Create group. Clicking on the icon ![]() opens the tool.
opens the tool.
Functions of the Snapshot Tool
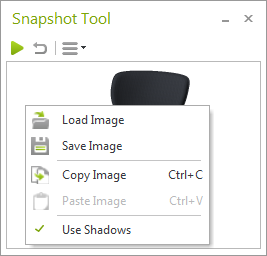
The tool includes the following functions:
Icon |
Function |
|
This button will take the snapshot. Whichever viewport is active is used for this. |
|
This icon resets the image to the default view. |
Article/Set |
This drop-down menu appears on the right-hand side of the Snapshot Tool as soon as a Set Article is selected. if the Set option has been selected, an image will be produced for the whole Set Article. If the Article option has been enabled, an image will be produced for the article selected within the Set Article only. |
Icon |
Function within the drop down menu |
|
Load the image of an Article from a file. |
|
This saves the current image. |
|
This copies the current image to the clipboard. |
|
This inserts an image from the clipboard. |
|
This enables the use of shadows in the image of the Article. |
|
Besides these functions, there is also a context menu in the Snapshot tool. To open it, right-click onto the Article image. All the commands from the Snapshot Tool drop down menu are repeated in the context menu |
To create images of articles, you have various options.
Taking a Snapshot
1.Select an OFML Article, User Article or Set Article.
2.Set the desired view in your active working area.
3.Take the shot by clicking on the Take image button (see following image).
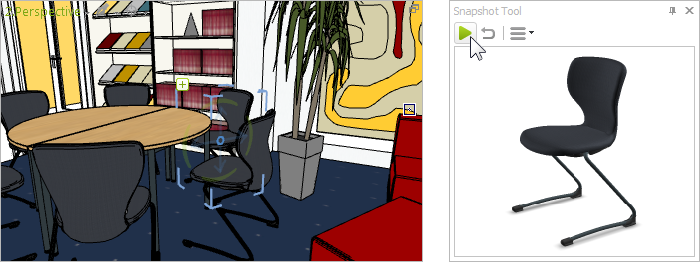
All snapshots that are created by means of the record button are produced in an improved realistic render mode, independently of which mode you have set in the active viewport.
There will be identical Article images for identical articles. The most up-to-date version of the image will always be the one used.
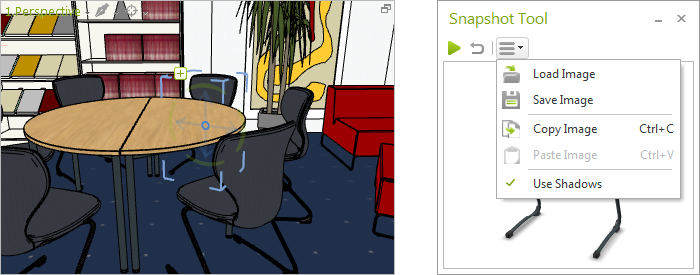
Insert an Article Image from a File
1.Select an OFML Article, User Article or Set Article.
2.Open the drop down menu in the Snapshot tool and click the Load Image option.
3.Select from your file directory the ready-made image that you wish to use as Article image.
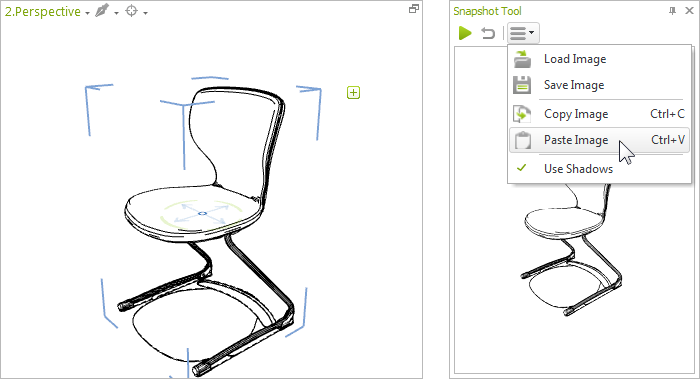
Insert an Article Image from the Clipboard
Alternatively, you can use an image that you have copied from a viewport. This method enables you to create images of articles in differing render modes, such as Wireframe mode.
1.Set the desired view in your active working area and then adapt the rendering by assigning either the desired render mode or a render style.
2.Select the Clipboard group on the Start tab, and in the Copy menu, click the option Copy Image. An image of the current viewport will be copied onto the clipboard.
3.Select the OFML Article, manual article or Set Article which you wish to assign to the image.
4.Open the drop down menu in the Snapshot Tool and click the Paste Image option.
Adjusting the Size of an Article Image
If you need a larger image of an Article you can enlarge the image area by dragging the Snapshot tool. To do this, bring the mouse to the edge of the snapshot window, click and hold the button down while you drag the window to extend it.
There are three possible ways of sharing an Article image.
1.When an Article List is created in pCon.planner, the latest image of the Article will always be added automatically for the item. If there is no manual image stored for an Article, the default image will be used.
2.The Save button enables the snapshot to be stored for external use. The formats available are *.png, *.jpg and *.bmp. When a snapshot is being saved, a dialog will also open allowing details like Image Width and Image Height to be set.
3.The Article image can be copied to the clipboard using the corresponding button within the Drop-Down-Menü of the Snapshot-Tool. This enables the image to be transferred into a text processing application, for example.