Sharing CAD models
On the Presentation tab, you will find the following symbol: ![]() . Clicking on this symbol will open the Share dialog.
. Clicking on this symbol will open the Share dialog.
With this feature, you can provide your employees and clients with an impress link of planning details, individual furniture models or entire plans.
Note: On our Youtube channel you will find a video on this topic |
||
|
|
In pCon.planner 8.12, sharing your designs with impress has become even easier and more powerful. With just a few clicks, you can share individual products, entire room layouts, or custom objects – either as 3D models in the browser or in Augmented Reality (AR) on a smartphone. In this tutorial, we'll show you step-by-step how to create a share link, how to display product information, and how impress can support your daily design and customer communication processes. |
The service is based on the connection to a cloud server. For this feature, you are able to choose which cloud provider you would like to use. More information in the Share chapter.
CAD Models are uploaded from pCon.planner onto the Cloud. You will receive a concrete link you can share. The link can be passed on, giving others the ability to view the model online quickly and without the need to open further applications or navigate through the presentation.
In this section, you will learn how to share a CAD Model online.
1.The process always begins with the selection of the desired object within the plan. In addition to parts of the drawing, you can also use the entire planning for export as a CAD model. If nothing is selected, the entire planning is exported.
Please note that for larger exported models - depending on the browser and device used - the display in the browser may be constricted. The size of the model is displayed in the upload dialog.
2.Next, open the menu Share by clicking ![]() .
.
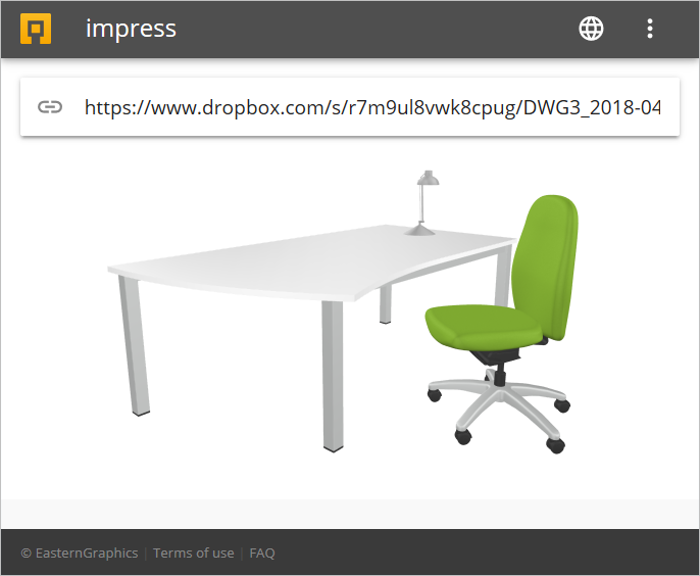
3.Pass on the link or QR code that is displayed in the Share dialog after processing. Use the Show article information (pCon.planner Pro) checkbox to include product information and additional texts for the article in the export.
Following a click on the icon Open in Impress ![]() , the CAD Model will appear in impress. Here you can zoom in on the model, rotate it, or change the point of view. The navigation options can be executed as follows:
, the CAD Model will appear in impress. Here you can zoom in on the model, rotate it, or change the point of view. The navigation options can be executed as follows:
Rotate |
Mouse: Click and hold down the left mouse button and move the cursor in the desired direction. Touchscreen: Use one finger to rotate the model in the desired direction. |
Zoom In and Out |
Mouse: Move the scroll wheel on your mouse. Touchscreen: Move two fingers together to zoom out. Move them apart to zoom in. |
Change point of view |
Mouse: Click and hold down the right mouse button and move the cursor in the desired direction. Touchscreen: Move three fingers in the desired direction. |
Show product information |
Hover over interactor on product: Display of product name and manufacturer. Click on interactor on product: Call up the product information window with all available information. |