Textures
Material Edit vs. Texture Edit
The Texture Edit tab is a dynamic tab. Texture Edit allows you to adjust the mapping of a texture to a SINGLE OBJECT, i.e. how a material is projected onto an individual object.
For example, the wood texture of a material can be rotated 45°. If three tables use this material in the design, you can use Texture Edit to change the rotation for each table separately. The material as displayed in the Materials dialog remains unchanged.
To globally change the appearance of a material, edit it in the Materials dialog.
To assign materials with textures, proceed as described in the Materials dialog chapter.
It is possible to drag not only Materials from pCon.catalog or from other sources onto objects as a texture, but also to drag ordinary images. These also can be used as a texture. If this is the case, a standard material for this texture will automatically be created in the Materials dialog.
1.First click on the Edit Texture button (Material group, Edit tab).
2.Then, click on the texture on the object that you want to edit.
3.A dynamic tab, Texture Edit, will then open in the Ribbon.
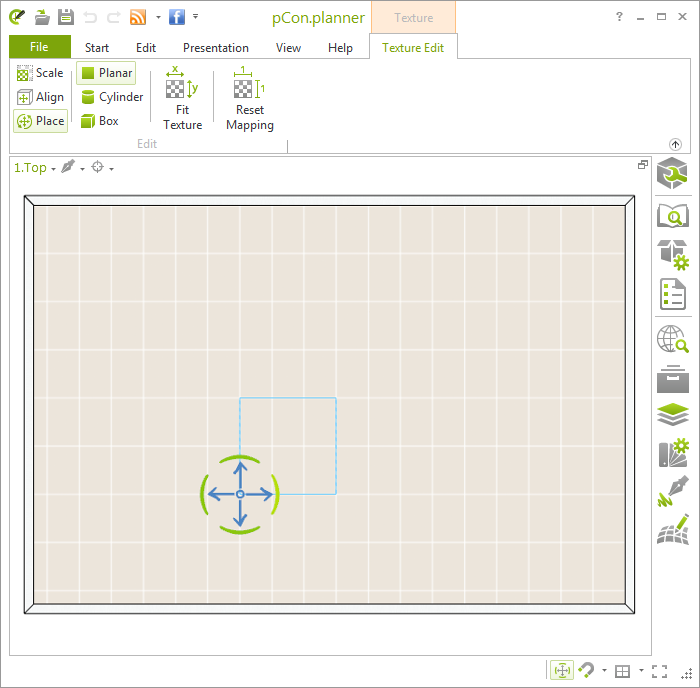
The dynamic Texture Edit tab contains different tools for skaling and placing your texure:
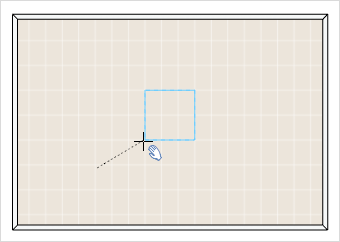
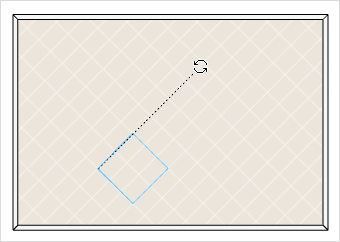
As soon as the tab is opened, the Place tool is automatically started. With the Object Interactor you can move or rotate the texture on the object according to your wishes.
The left image shows how to move the texture; the right image shows how to rotate the texture.
|
|
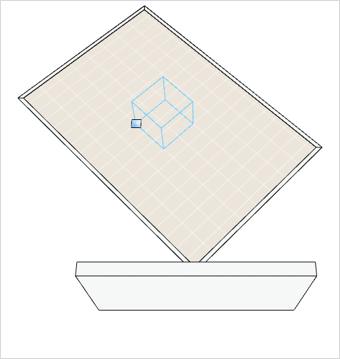
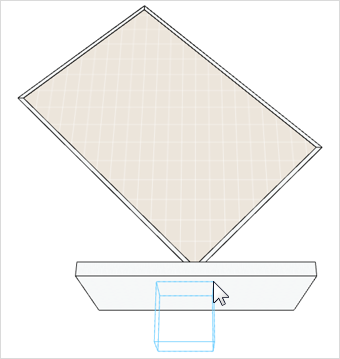
The Align button is used to align the texture to a specific surface. How to use it:
1.Click Align on the Texture Edit tab. A green interactor appears (see following pictures).
2.Shortly click on the green interactor.
3.drag the blue box and the interactor - without holding down the mouse button - onto the object in the planning to which you want to align the texture. In the picture this is a wall. The texture always follows the orientation of the object over which you hover the cursor.
4.A second click with the mouse fixes the direction of the texture.
|
|
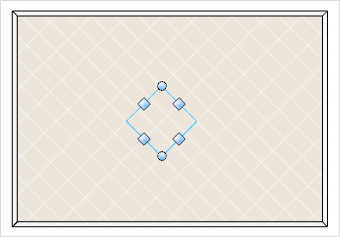
Scale adjusts the size of the texture on an object. After starting the function, several interactors are available. A short click on one of these interactors starts the uniform scaling of the texture. If you only want to scale along one axis, briefly click one of the square interactors and hold down the Shift key during scaling.
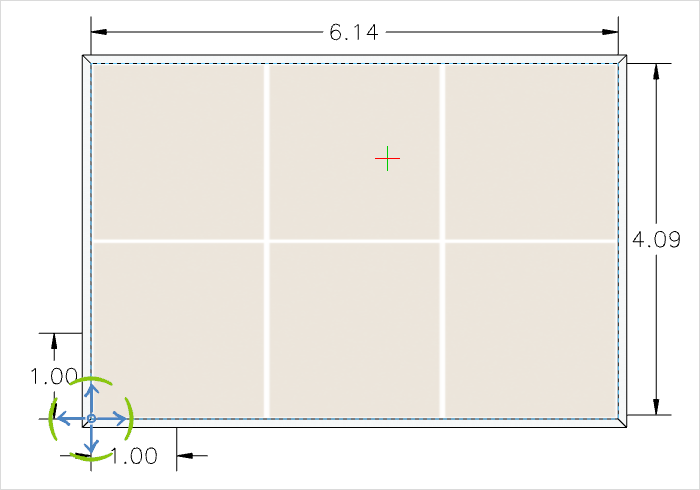
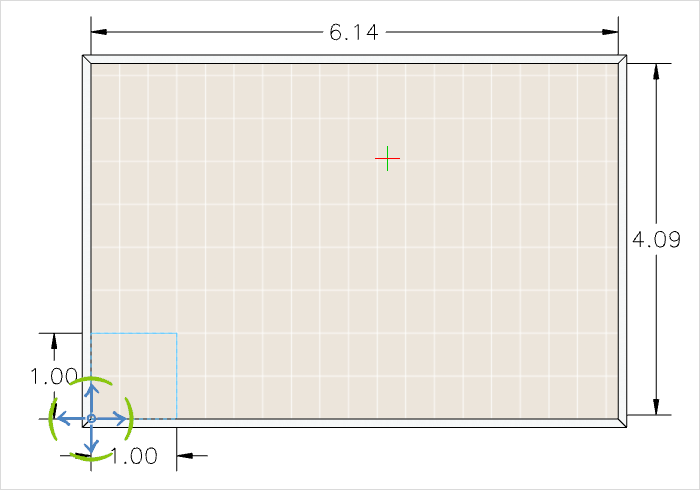
In the example, the previously rectangular floor texture is to be converted into a square one:
1.Click the Scale button on the Texture Edit tab.
2.The interactors of the Scale tool become visible (see left image).
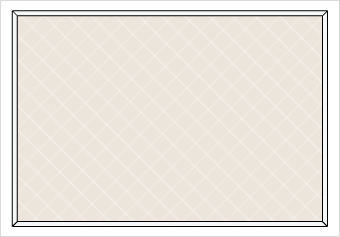
3.By clicking on one of the square interactors and dragging, the scaling is changed. Press the Shift key to scale only along one axis. Result in the right image.
|
|
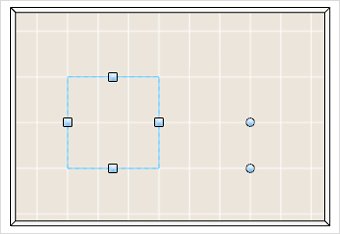
Scaling to a specific size
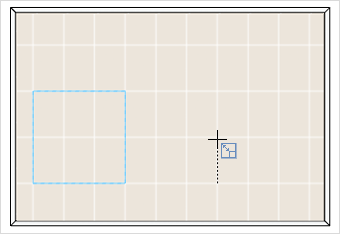
At the corners of the scaling tool you will find two round interactors. By moving them, you first set a specific distance that you want to scale (see left image).
1.Click on the first round interactor. Hold down the mouse button and move the cursor to the desired position. Release the mouse button to place the interactor at this position.
2.Repeat point 1 with the second round interactor. The distance between the two round interactors gives the distance for scaling.
3.Click on the first round interactor. Release the mouse button directly.
4.Click on the second round interactor. This completes the process.
Alternatively, enter the distance of the scaling using the keyboard. In the lower right side area of your current projection, this distance is displayed as a black number during scaling. By pressing the Enter key you fix the entered distance and thus the scaling.
|
|
The Fit Texture function aligns original textures to the particular dimensions of the object.
The Reset Mapping button resizes the texture to the values used in the Materials dialog.
The projection method determines how the texture is to be displayed on an object so that the interaction of the shape of the object and the texture appear natural. The pCon.planner automatically determines the projection method based on the object. You can also define the projection method yourself in the Texture Edit tab:
•Planar: Is used for two-dimensional objects
•Cylinder: Is used for cylindrical objects
•Box: Is used for three-dimensional objects