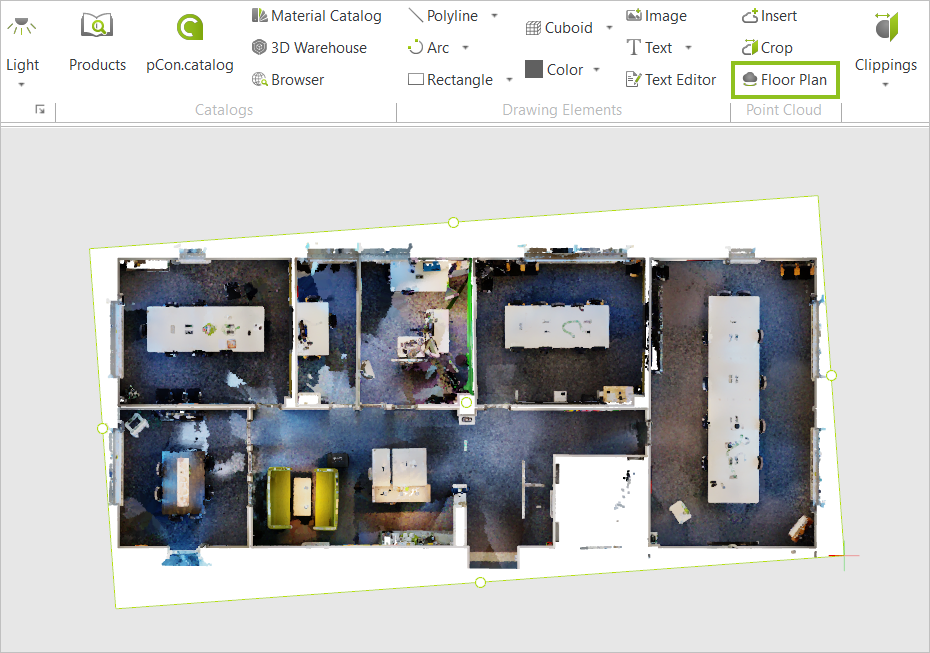
Floor Plan
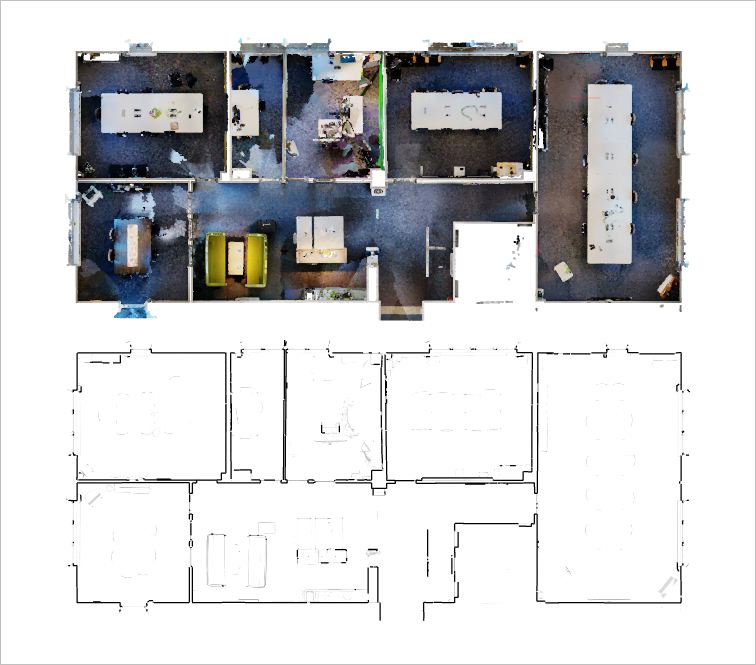
The Floor Plan option in the Point Cloud group, Start tab is used to create a 2D floor plan ob base of the walls contained in a point cloud. In the next step, you draw individual walls based on this floor plan or use the floor plan tool.
This is how to generate a floor plan:
1.Select your point cloud.
2.Click Floor Plan in the Point Cloud group. A selection frame appears, which you can use to limit the area to a part of the point cloud if required (similar to the Crop option).
3.After selecting the desired area, confirm with ENTER or click once on the point cloud.
4.The floor plan is generated and is located on the underside of the selected area. A selection frame with Object Interactor appears. Click on the snap point on the frame or the Object Interactor.
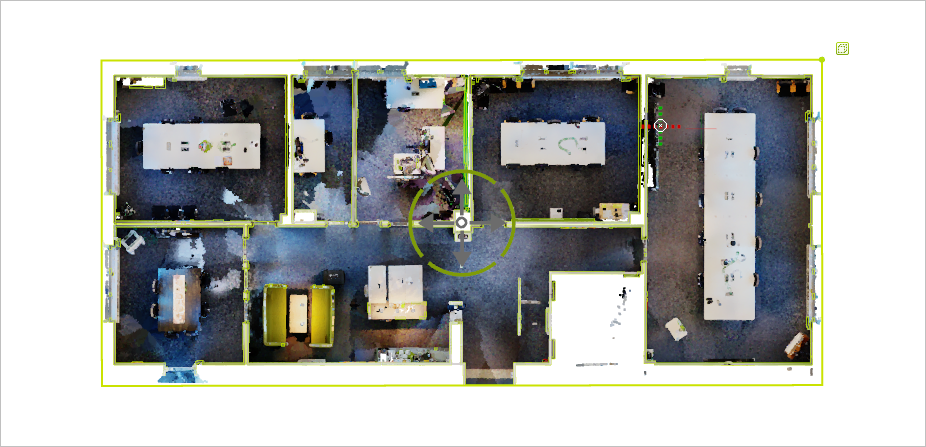
5.Move your floor plan as desired. It is now available for further editing.
The floor plan consists of lines and a background image. It is created as a group. To edit the floor plan, you can ungroup the group and remove elements.