Inserting Images
Inserting Images: Image button or Import
Images can be placed at any position within a plan. The following example demonstrates how an image is attached to a wall.
|
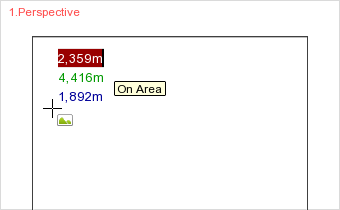
1.Either go into the Application menu and use the Import function or go to the Start tab and use the Image button in the Drawing Elements group to select an image file. 2.The tooltip On Area will indicate to you that the cursor is positioned directly on the surface of the wall. 3.Use one click to set the origin for the image. |
4.Now move the mouse to set the size of the image. Both height and breadth can be changed in this way. The alternative is to enter the values using the keyboard. |
|
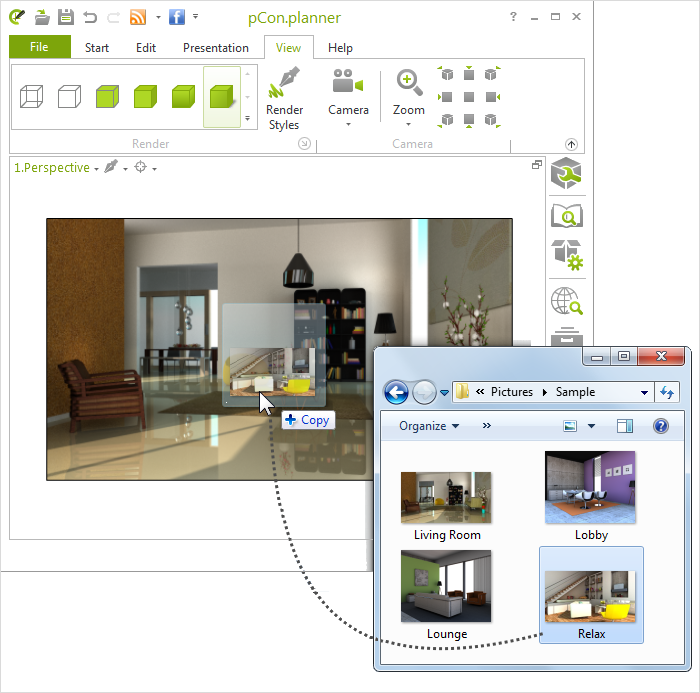
Images within designs can be replaced simply by drag and drop. It is possible to drag an image from a local directory (see following image) or a web browser onto the image in the design to replace it.

Insert Image as Material using Drag&Drop
If you drag&drop an image from a website or your file system (for example via the Media Browser) to a wall or another object, it is inserted as a tiled material. Read more here. If the wall is selected, the image tiles will be inserted on all surfaces of the wall. If the wall is not selected, the image tiles will only be placed on the side of the wall on which you drag the image.
Hack: Using images as decoration
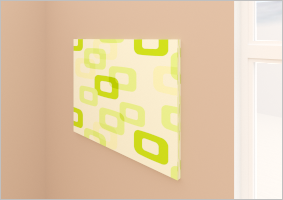
You can use images on stretcher frames as wall decoration.
|
1.Draw a Cuboid directly on the surface of your wall. 2.Give the Cuboid a thickness of approximately 2cm. 3.Select an image from your Media Browser or from the Internet and apply it to the cuboid via Drag&Drop. 4.Use Edit Texture (Edit tab, Drawing Elements group) to adjust the size of the image. |
5.In addition you can define the textured cuboid as a Wall Object. Select wall and cuboid at once and click the Wall Object button (Start tab, Room Elements group). Following this, the picture will be firmly linked to the relevant wall and can be moved by means of special interactors. |
|

