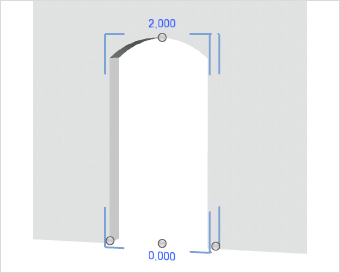
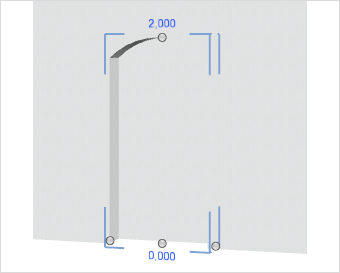
Openings and Recesses
The Wall Elements group includes the Openings item and this can also be used to create recesses in the wall.
|
1.Switch to the Room group, Start tab and click on the arrow circled in red in the image on the left. The best projection to use for these insertions is Top. 2.Clicking on the arrow opens a menu (see here) offering Opening as an option which can be selected with a click of the mouse. |
3.Clicking on the wall creates a rectangular Opening which can be adapted using the Properties Editor, as demonstrated by the two following images. On the left an Opening has been created and on the right a Recess. The latter will be made if the Center Offset item is set appropriately in the Properties Editor. |
|
|
To insert yet another wall element, simply press the F2 function key.
Editing Openings and Recesses
As in the case of any element, it is necessary to select an Opening before editing it. However, there is a difference from windows and doors, in that Opening or Recess is selected by first selecting the wall and then moving the mouse round the outer limits of the Opening, which will make it visible. Now click on the (blue) boundaries to select it.
It will now be possible to edit the parameters of the Opening. For instance, a rectangular Opening could be changed to a Circular shape using the Properties editor. The Parapet height would be preserved, and the original Width of the Opening set as the diameter.
The various properties for an Opening and how to adapt them are listed in the following table.
Properties of Openings |
Can be edited by means of |
Height |
Dimension figure on the object, Properties Editor , Interactor |
Width |
Dimension figure on the object, Properties Editor, Interactors |
Parapet |
Dimension figure on the object, Properties Editor |
Arch rise |
Properties Editor |
Center offset |
Properties Editor |
Circular |
Properties Editor |
Position |
Interactor |
Lateral distance from neighboring objects |
Dimension figure on the object |
Name |
Properties Editor |


