Wall Elements
Note: On our Youtube channel you will find a video on this topic |
||
|
|
pCon.planner offers many useful functions that can support you in your day-to-day planning. From viewing your plans and precisely tracing floor plans to efficiently changing features - we'll show you three professional tips that will make your work even more efficient. |
|
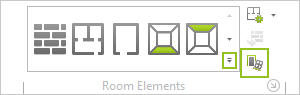
pCon.planner offers a number of objects that can be inserted into walls. Open the Room Elements dialog by clicking the arrow (marked in green) in the Room Elements group, Start tab. To open the same dialog as free floating dialog, click the Room Elements icon ( |
By following the arrow which is marked in green in the left-hand screenshot, you will reach the Room Settings dialog. In it you can make default settings for Height and Width of doors and windows and for the Thickness and Height of walls. |

There are also hatch settings here for walls and settings for pipework.
It is also possible to add wall elements such as doors, windows or overhead doors interactively. By this is meant that the position, width and means of opening can be set precisely for the wall elements even at the wall creation stage.
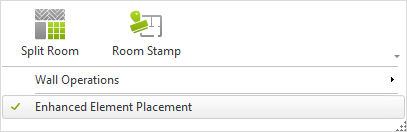
To enable the function, check Enhanced Element Placement in the Room Elements group. The following Door example will demonstrate how the enhanced placement process differs from the conventional method. |
|
|
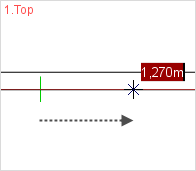
1.Click on the arrow described above in the Room Elements group on the Start tab, then select the desired wall element in the menu which opens with a click (here the door). 2.Click once to establish the start point of the wall element in the wall. 3.Move the mouse and click to establish the width or enter a dimension on the keyboard and confirm with Enter. |
|
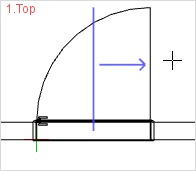
4.The next thing is to decide how the wall element is to open. For this, move the mouse cursor onto the inside or outside of the wall and then in the desired of opening. When the opening style (vertical and horizontal) is appropriately displayed, fix this by means of a final click with the mouse. |