Properties
The Properties Editor, found by clicking the button of the same name on the Toolbar, provides information on a number of object properties and the possibility to edit them in the dialog. The object must be selected in the plan in order to show its' corresponding features in the Properties Editor.
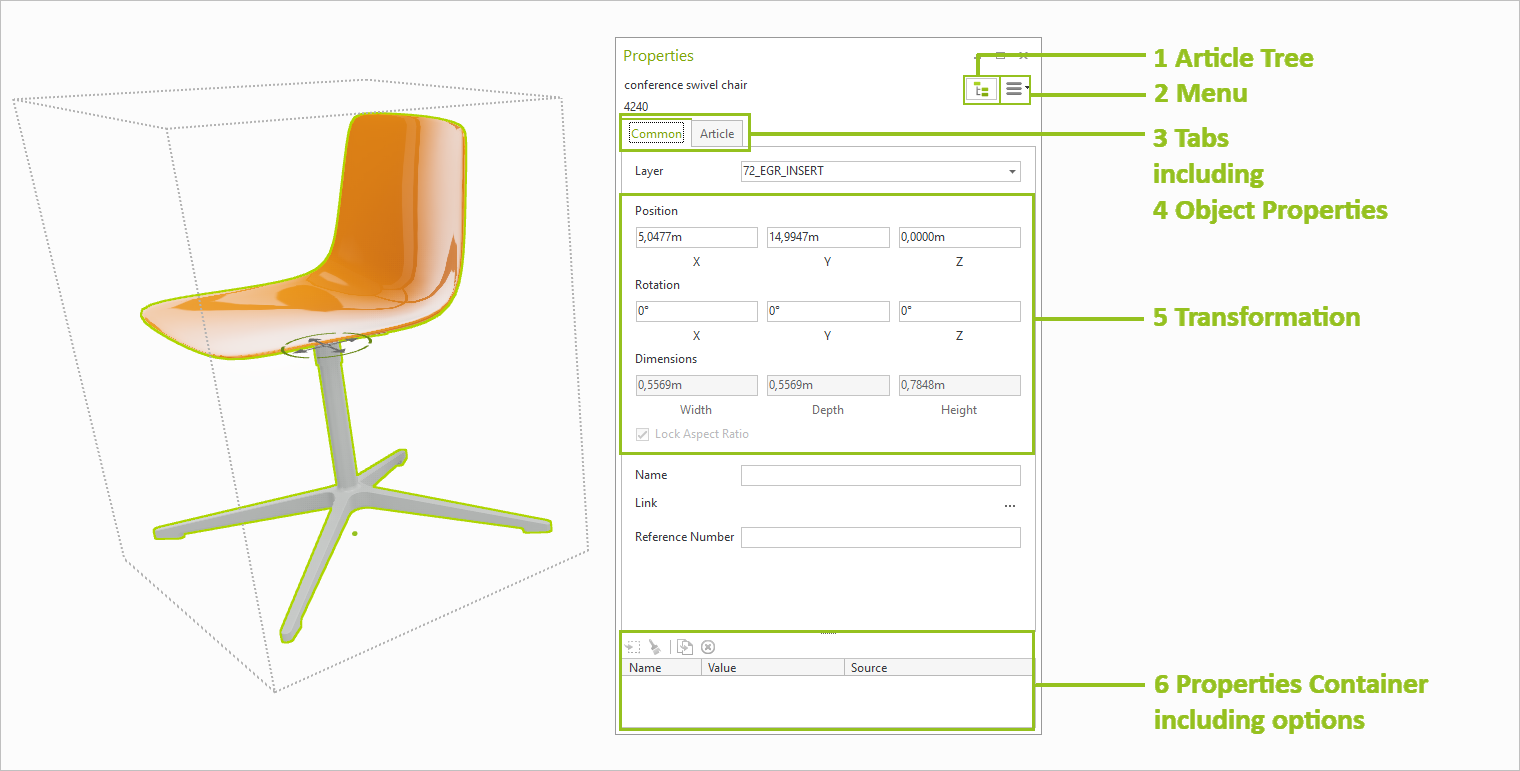
The article tree is available for complex configurations. It provides an overview of all sub-articles of the selected object.
|
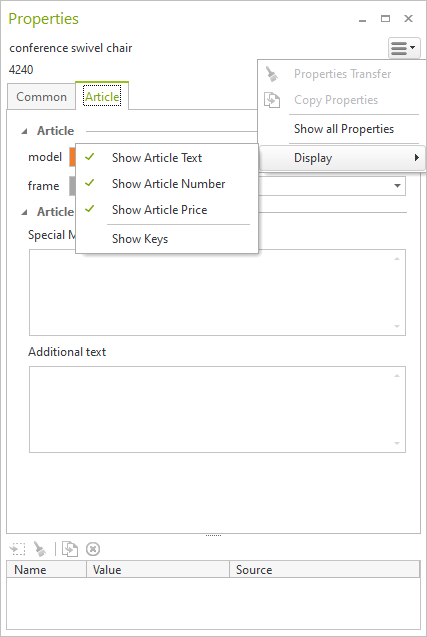
In the menu, there are further options available: •Custom Configuration •Properties transfer •Copy properties •Show all Properties •Options for detailed display of article properties (price, article text, article number, key...) The Show all Properties option is relevant if different objects of the same category are selected: •Activated: Display all properties of the selected objects in one tab (e.g. properties of the skylight of a door with a skylight if a door without a skylight is selected at the same time) •Deactivated: only display of common properties, non-common properties are hidden |
Note: On our Youtube channel you will find a video on this topic |
||
|
pCon.planner offers many useful functions that can support you in your day-to-day planning. From viewing your plans and precisely tracing floor plans to efficiently changing features - we'll show you three professional tips that will make your work even more efficient. |
|
3 Tabs
The contents in the Property Editor are divided into tabs. Each element that has its own properties is opened in its own tab when selected.
Tab |
Content |
Common |
•Transformation area. •Name, Link etc. for selected objects. •Contains common properties of all selected objects. Can be used, for example, to move multiple selected objects at once. |
Object Tab |
Tabs containing object specific properties, for example: •Height of a selected Wall •Color of a Shape |
Article Tab |
•Is displayed when an Article is selected, but not yet opened for configuration •Switching to the Article tab opens article for configuration |
Plugin Tab |
•Plugins installed in pCon.planner each have their own tab. |
4 Object Properties
Properties of the selected object are displayed here. Articles with commercial information can be configured via the Properties Editor.
The object-specific properties are displayed in their own tab. Standard properties, such as Layer or Name of a selected object, can be found on the Common tab.
The values of the properties of objects are selected in the property editor if required and transferred to objects of the same type. This is particularly relevant for working with commercial articles.
The selection of several properties and their valus is done in the Properties Editor as follows: Hold down the CTRL key and select the properties by clicking the left mouse button. All selected property lines have a green frame.
Possible variants of the properties transfer: Transfer properties values.
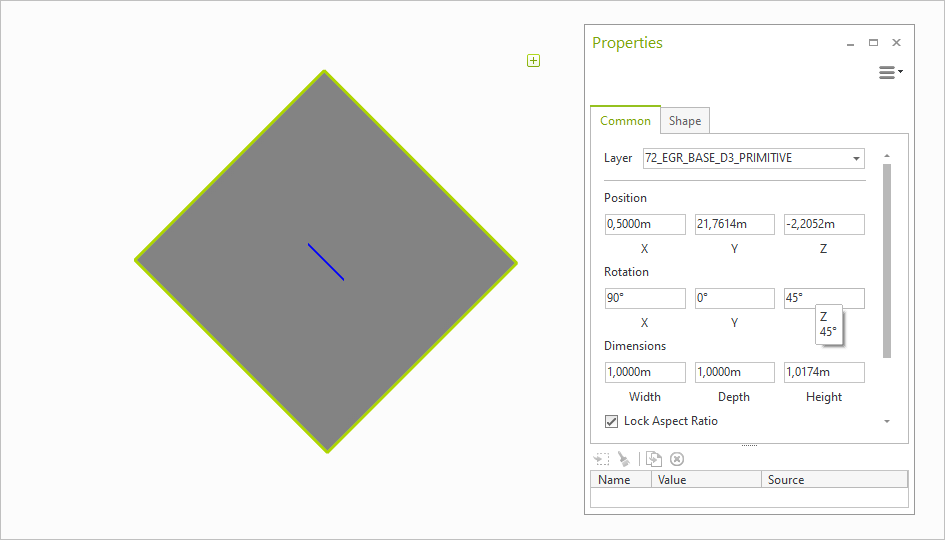
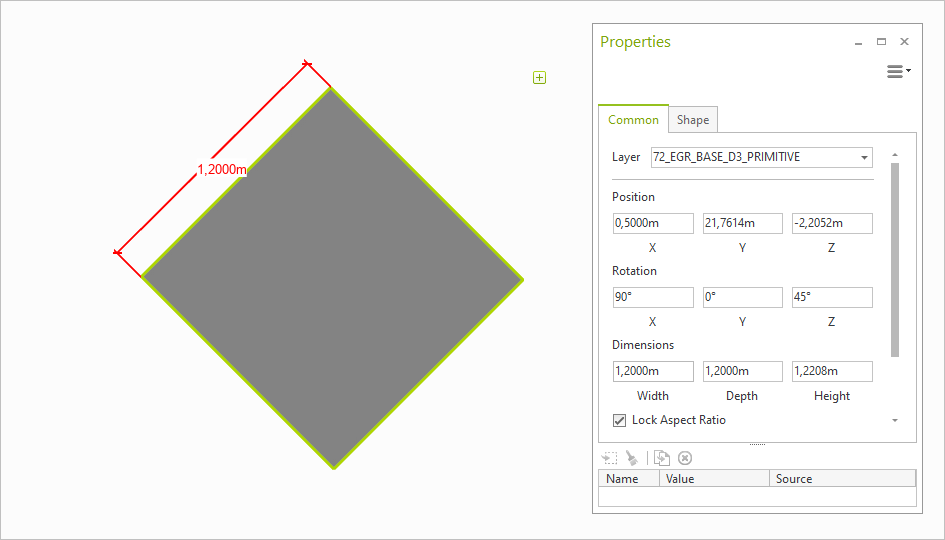
By means of the Transformation area you change
•Position
•Rotation
•Dimensions
of your selected objects. Transformation is available in the Structured View as well as the List View of the Properties Editor.
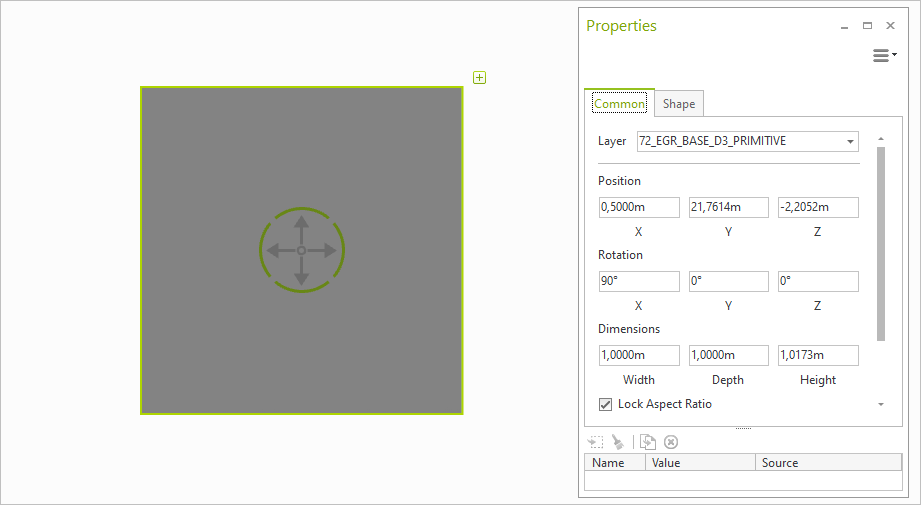
Transformations can be applied to all of your selected objects.
Depending on the type of element selected, some of the input fields in the Transformation area are grayed out because these specific operations are not available for the respective object. Multi selection is available. This makes it possible, for example, to alter the positions of multiple selected objects at once.
Applying Transformations to Objects
1.Select the object you want to transform. In order to transform or move several objects at once, use multi selection.
2.Enter the new values to the respective input fields of the Properties Editor.
3.Press ENTER to adopt the new value. Alternatively, press the TABULATOR key. This way, your value is adopted while the cursor moves to the following input field.
6 Name/Link
For each object selected in pCon.planner, a Name can be entered in this area if required. This helps to structure your planning.
The Link option can be used to specify Internet links with further information on the object. This function is also available in the layout area and is explained in more detail there.
If you have selected an object, you can manually assign a Reference Number in this area.
7 Properties Container with Settings
Properties can be saved and assigned to another object via the Properties Container.
Learn more about working with the properties container here.
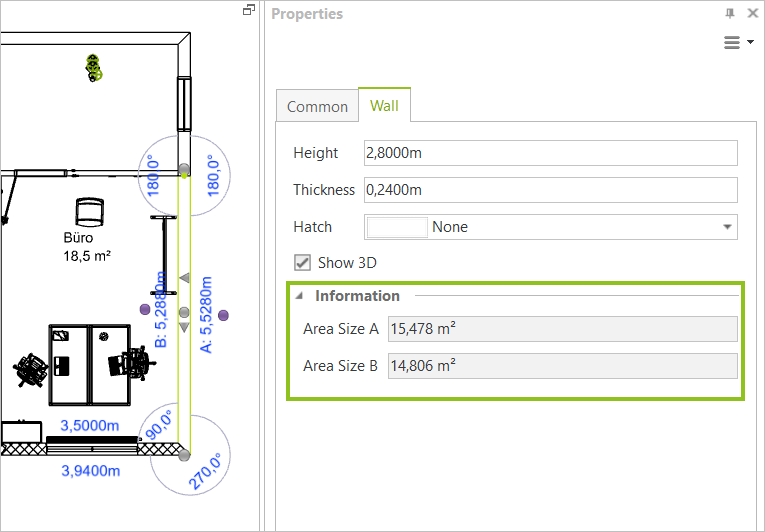
8 Information
Depending on the selected object, the Information area is displayed in the respective tab. The dimensions of some room elements and 2D drawing elements can be viewed here. Read more here.
