Render styles
|
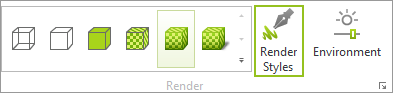
You can find the Render Styles under the View tab in the group Render. |
Here you can create custom Render Modes by changing, for example, line thickness, contrast or ambient occlusion.
These render styles can be assigned to any particular Viewport, as can the pre-defined modes such as Wireframe, Hidden Line and so on. You can use these styles not only in the design area but also in the Layout Area as well as for real-time images.
If you click on the Render Styles button, the render styles dialog will open.
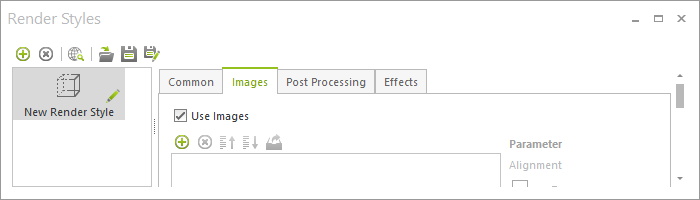
The dialog is made up of a toolbar and two windows, The styles already loaded will be shown in the left hand window (this is still empty in the screenshot on the left). The window on the right contains the tabs Common, Images, Post Processing and Effects.
|
|
The buttons on the tool bar provide the following functions. |
|
Create a new render style |
|
|
Delete a render style |
|
|
Load a render style from drop down menu |
|
|
Load a render style |
|
|
Save a render style |
|
|
Save a render style as
|
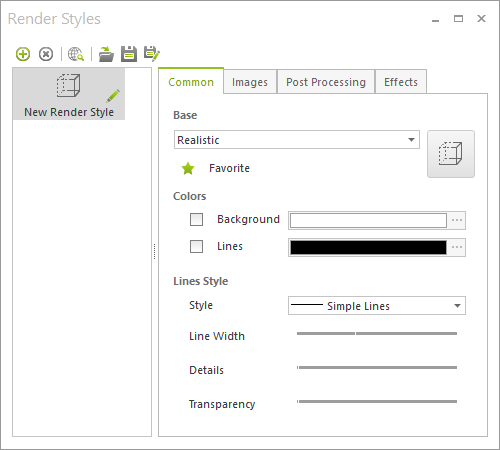
Click on the The tabs for the Render Styles dialog will enable you to assign a variety of properties to the style and try different settings. Even while you are creating a style you will see the effect on the real-time view of the settings you make for the render style. Common Tab Under the Common tab, the following settings are available:
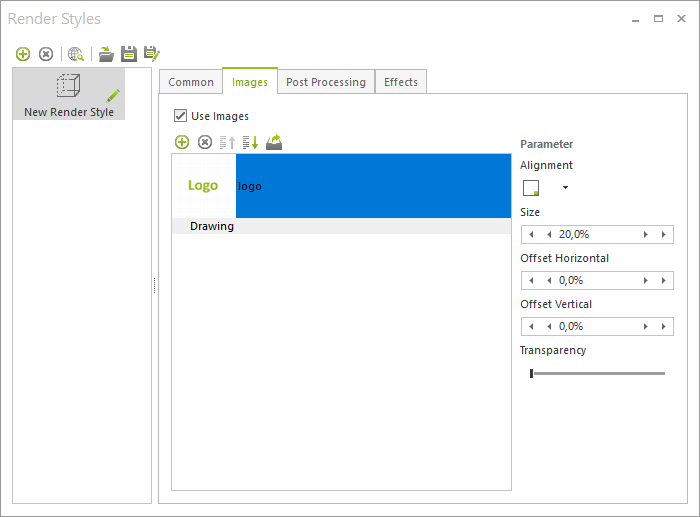
Sample style: Base Mode Hidden line; Lines color RGB 58, 58, 58; Background and Face color white, no Transparency; Line Style 4, Line Width small, high level of Details, no Transparency. Images Tab Under the Images tab, you can embed images (e.g. logos) into your render style. The toolbar (see red frame in the screenshot below) enables you to add and delete images, move them into the foreground or background and also export loaded images separately.
When an image has been incorporated, it is also possible to adjust its Size, Transparency and Alignment.
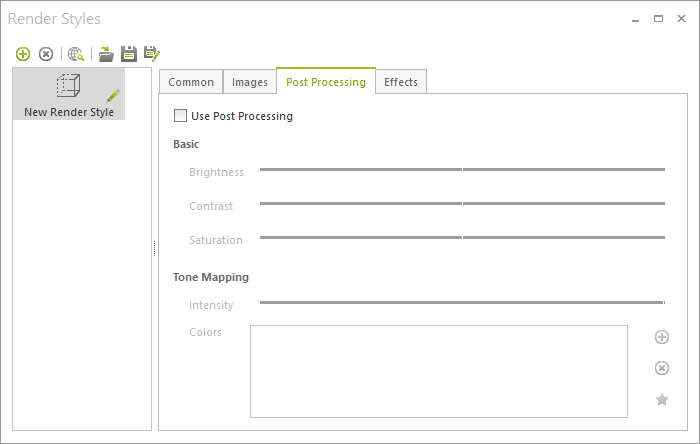
Post Processing Tab When the Use Post Processing button is enabled, the settings on this tab will be adopted for the Render Style. This tab contains options for adapting the Brightness, the Contrast and the Saturation.
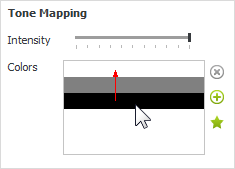
Tone Mapping assigns one or more colors for the rendering. The shade used for the rendering will be dependent on the brightness of the particular pixel. This is how to use the function. 1.Under Colors, click on the Add color symbol 2.Under Colors, click on the Add color symbol and then select one of the colors offered there. You can also make your own color setting.
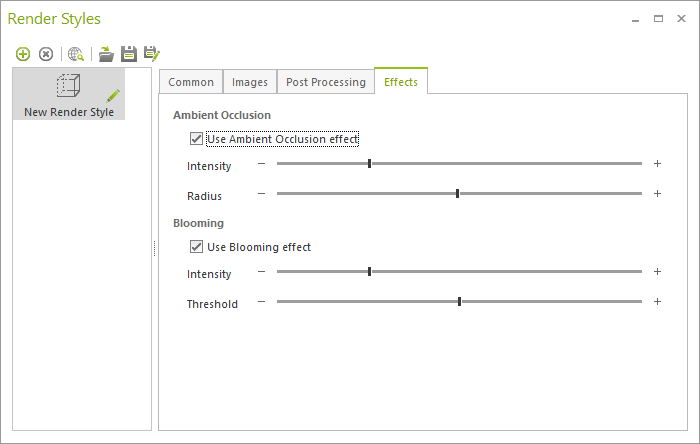
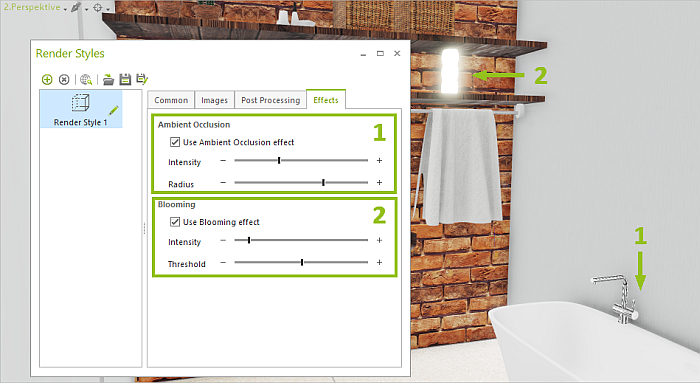
4.If you want to delete a color, click on the relevant bar and use the Delete color Clicking on the Asterisk button Effects Tab This tab contains the settings for Blooming and Ambient Occlusion. Both of these effects are already shown in Realistic rendering mode.
If you would like to adjust the strength of the ambient occlusion or blooming, create your own render style. You will need to base it off of the Realistic render mode (Render Styles --> Common tab --> Foundation: Realistic). Ambient Occlusion Ambient occlusion controls the intensity of the diffused shadows in the plan. The effect is particularly visible in room corners and around contact surfaces.
Blooming This effect controls the light emission from self-luminous and very bright as well as shiny objects. These objects will display a slight light aura.
|
||||||||||||||||||||||||||||||||||||||
Assigning a Name and Icon for Your Style
|
You can set an icon for your own Render Style under the Common tab. Click on the button on the right in the section Base. |
|
Depending on which excerpt is showing in the active viewport, a miniature image of it will be created. This icon can be re-created as often as you like. |
|
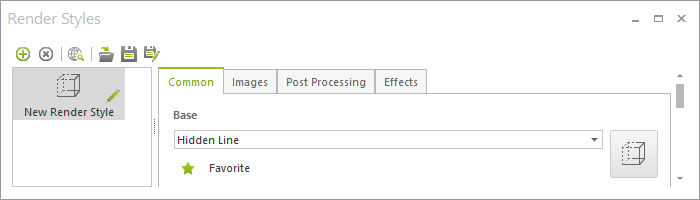
As soon as you have made an icon, it will replace the default icon in the left-hand pane of the window, see screenshot on left. If you select the icon and then click again, you will be able to give the style its own name. For renaming you can also use F2. |
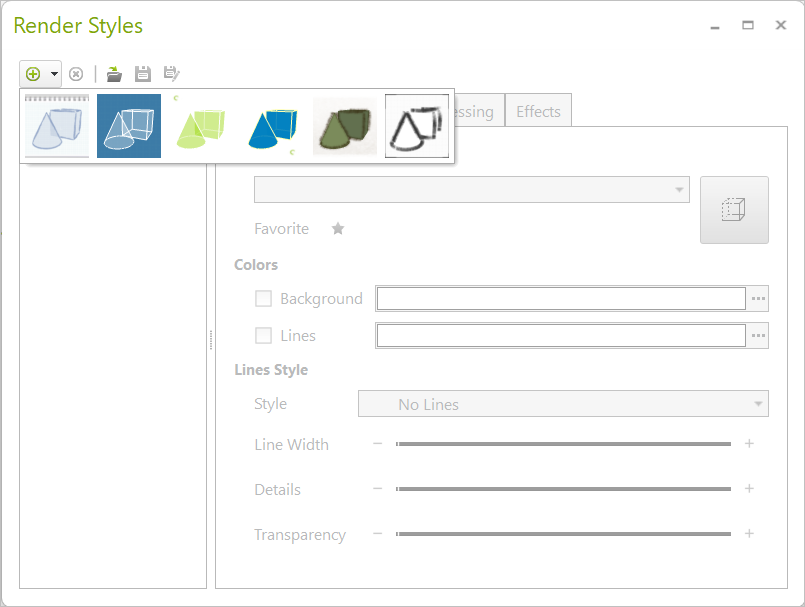
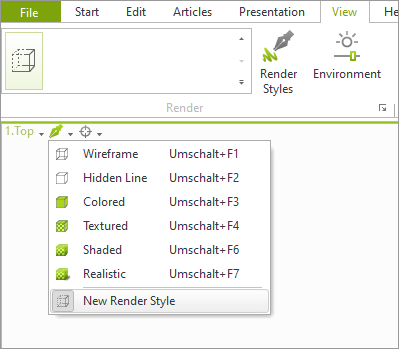
You can make use of various pre-defined styles. Click on the downward pointing arrow to open a variety of predefined render styles.
|
Render Styles can be accessed through the Render Styles dialog. Double-clicking on one of the styles available there means that it will be assigned to the active viewport. You can also select your Render Style directly from the currently active Viewport. Open the drop down menu with the render modes. You will find the created render styles at the bottom of the list. These can be enabled by clicking on the desired style. A further way is to select styles from the View tab, Render group.
|
Render Styles are not automatically saved. Use the Save icon in the Render Styles dialog to save your Render Styles for further use.
To use a Render Style together with a specific plan, please file plan and Render Style in the same folder. To enable other users to use this render style with this plan, you send the RSTYLE file together with the plan or grant them access to the complete folder.
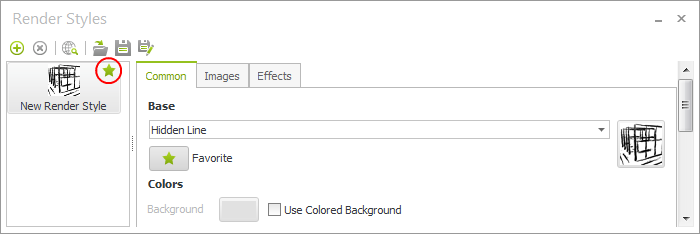
Save a Render Style and mark it as a Favorite to make it available for different drawings:
1.Open the Render Styles dialog and select the render style you wish to adopt on a permanent basis for future renderings in pCon.planner. 2.Click on the Favorite icon in the Base group of the Common tab. 3.If the render style has not already been saved, pCon.planner will ask you to do so, as only stored styles can be marked as favorites. |
When it has been saved, the relevant style will be displayed with a star in the left-hand pane of the render style dialog (see next screenshot).