Settings
The (program) Settings can be accessed in the Application Menu.
Please note: These settings contain all the options that are important to the use of the program. Settings for each current plan can be found under Document Properties.
The individual tabs are described below.
|
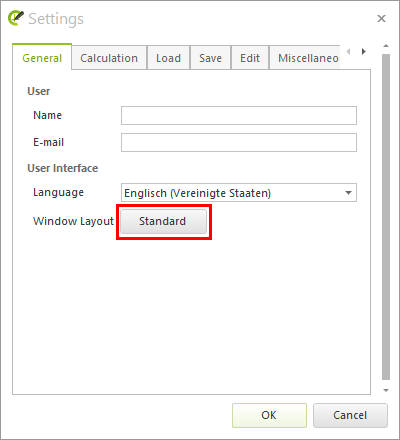
In the General tab you can set the name of the pCon.planner user and the program Language. The application language is automatically used for the integrated browser, as well. Clicking the Standard button (framed in red in the screenshot on the left) will restore the default settings for the Window Layout. |
|
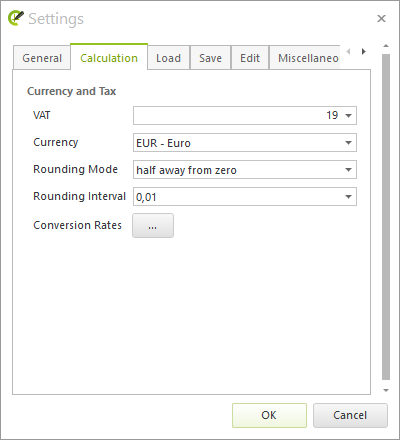
One use of the Calculation tab is to let you make global settings for Currency and VAT/sales tax. The options work as for document properties; there is also the possibility of editing the Conversion Rates, the Rounding Mode and the Rounding Interval. The Configure pCon.basket is used to define whether your OBK exports from the Article List window (Toolbar) are opened in the PRO edition of pCon.basket Online or the offline application.
|
|
The field Standard Template is where to select a self-made template for your further projects. If you are working exclusively with the pCon family of applications, the Texture Folder will not be relevant for you. Certain programs that use the DWG format, however, in contrast to pCon products, store the textures of objects in separate directories. If you load an object of this kind into pCon.planner and its textures are in the relevant directory (Texture Search Path), they will be assigned correctly to the object. If you then store the DWG file in pCon.planner, all the texture information from the other textures directory will be integrated into your new file. |
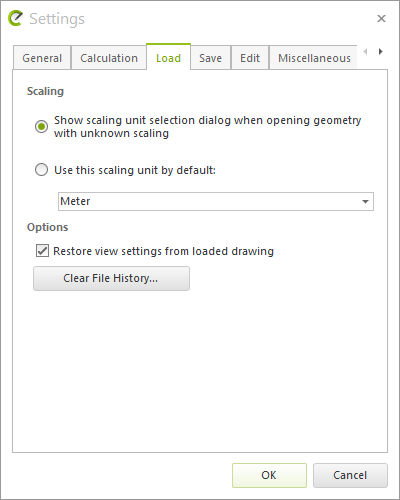
Here you find the settings for Scaling. It is possible to arrange for a dialog to appear before objects with unknown scaling are imported into pCon.planner so that a certain scale can be set. Or you can arrange for a certain unit to be used from the very beginning by selecting Always use this standard scaling unit.
The next thing you can arrange here is the saving of the individual configuration of your work area (View settings).
Furthermore you can delete the list of recently opened files from the application menu by clicking Clear File History.
|
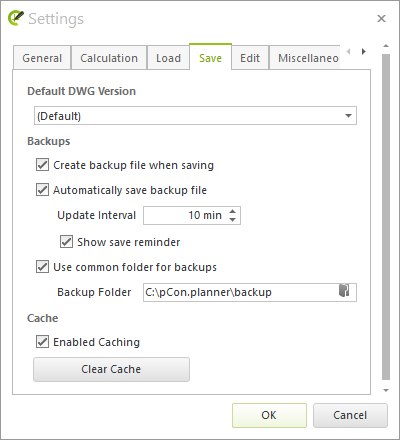
There are safety mechanisms in the automatic saving system that ensure your files will not be destroyed if the software crashes. The choice in practice is between the two following options. When a design is saved, a backup copy can be produced in addition to the actual file saved. Here it is necessary actively to put the check in the Create backup file when saving box. In this case the backup copy will be in the same directory as the original file and its name will end with a tilde (~). It is also possible to arrange for periodic backup copies to be produced automatically. Set the desired interval in the Save Interval field. If the Show save reminder option is checked and a new file is opened that does not yet have a name, a dialog will appear at the relevant intervals. |
Enable Use common folder for backups when you would like pCon.planner to save all backup copies to the same particular folder, regardless of the original file’s save location. If this option is disabled, the backup copy will be saved to the same location as its respective DWG.
You can choose the save location for your backup copies under Backup Folder.
The settings for the Cache are in the lower area of the Save tab. If Cache is enabled it will speed up the loading of designs. You should thus ensure it remains enabled. It is also possible to clear the cache.
The Render Job Folder is the absolute path for the storage of external render jobs that have been exported from the Image dialog.
|
The Length Unit field is for setting the standard unit you wish to use for entering values in pCon.planner. For instance, if you want to move an object by 50 cm and your Length Unit is set to Meter, you only have to write 0.5. It is not necessary to insert the unit with the length. More on this is to be found here. The Length Precision option is where to set exactly how many positions after the decimal point are to be entered and displayed for any values. If needed, an Area Unit differing from the Length Unit can be specified. Accordingly, the Area Precision can deviate from the Length Precision.
|
The Level of Detail will have an effect on the quality of solids in the drawing. The higher the quality level selected, the better the graphic representation of the solid. The effect is to show the relevant objects in greater detail and to show curvature more realistically.
The Level of Detail will have a considerable effect on the performance of the application. It is recommended that a lower quality level is selected for complex designs with a number of solids as this will speed up performance and, therefore, the design process generally. Be sure to note that if the drawing has had its setting changed it must be restarted.
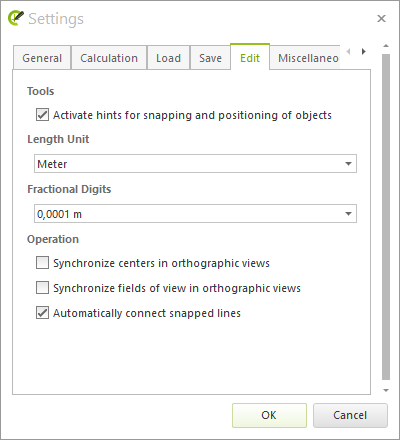
On the Edit tab you will find an item which assists in the control of the showing of snapping hints in the viewport. If you have not been using the software for long, it is advisable to leave this item enabled as it will help you to get used to the program. The snapping hints will be visible when the mouse is not being moved. They indicate where in the planning the cursor is pointing to, for example End Point or On Plane.
The item Synchronize centers in orthographic views allows you to set whether the center of any two-dimensional viewports should be synchronized. If you enable this option, the navigation movements in an active viewport will also affect the other viewports. The Synchronize fields of view in orthographic views option has the effect of synchronizing the zoom in all two-dimensional projections.
Note: On our Youtube channel you will find a video on this topic |
||
|
pCon.planner offers many useful functions that can support you in your day-to-day planning. From viewing your plans and precisely tracing floor plans to efficiently changing features - we'll show you three professional tips that will make your work even more efficient. |
|
Automatically connect snapped lines controls whether individual lines connect to form a single polyline when their ends touch during the drawing or moving process.
•Check box selected: snapping of end points functions and connected lines will combine into one polyline.
•Check box unselected: snapping of end points functions, but the lines remain individual elements.
|
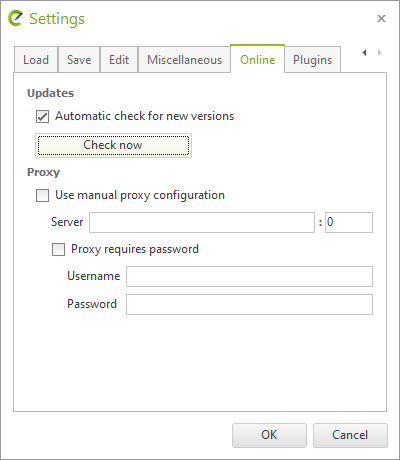
If your company uses proxy servers, this is where to set the adress of your server as well as the login data. If you access the Internet with pCon.planner via a proxy server, specifying the server data allows you to access services such as pCon.login as well as direct downloads. Delete the data from all integrated browser windows of pCon.planner (catalogs, materials, etc.) by clicking on Clear browser data. This opens a dialog in which you can specify whether cookies, user data and/or the content of the file cache should be deleted. The tab also contains a search facility for pCon.planner updates.
|
|
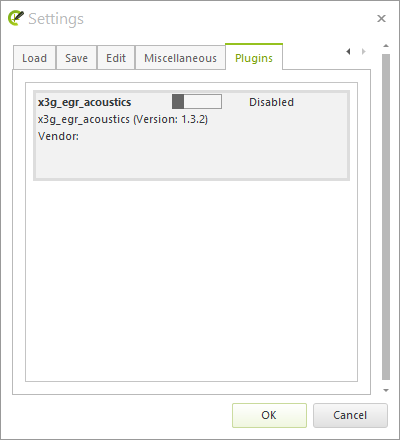
The Plugins tab gives you an overview of all the plugins that you have added to pCon.planner Pro. For each plugin, you can determine whether it is activated when started pCon.planner. Plugins that are not currently needed can be deactivated using their respective sliders. |
