Positioning Objects
The objects in the Layout area can be moved, scaled, placed behind or in front of each other, and arranged in various ways.
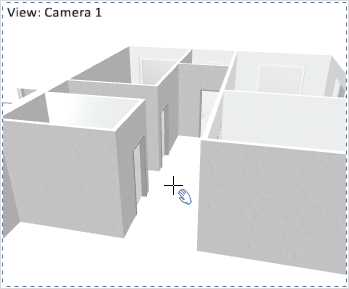
The moving is carried out as follows: 1.Pass the cursor over an object on the Layout page. It will change in appearance (see left-hand screenshot). 2.To move the object now, click on it, hold down the mouse button and drag the mouse. 3.Release the left-hand mouse button when you have reached the desired position. This puts the object there. |
To move along a fixed directional axis, you can use the Object Interactor.
Auxiliary lines appear as soon as your object is parallel with the center point or corner of another object. In this way, you will also see when you come into contact with the borders of the print page. The moved object snaps to these lines and can be aligned easily with other objects.
You can set and freely position a Snap Point for each 2D viewport or isometric view. Use these points to align viewport contents with each other. The insertion process is as follows:
Object Snap has to be enabled to use the Snap Point.
|
1.Select a window. 2.Check the Snap Point option in the Properties Editor. 3.The green snap point will appear in the middle of the selected window. 4.Left click on the snap point once. |
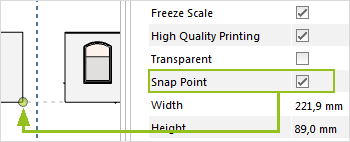
5.With a second click, set the snap point at the desired location within the viewport.
For example, you can set a multiview projection: Insert three views in your plan, set the snap point in each view in the same corner of one of the walls and set the same scale for each window. When you move a window, the position of the other snap points will be displayed as auxiliary lines.
Note: To use the snap points for alignment, check the Freeze Scale option in the Properties Editor. This will protect the content of the active window from zooming motions.
|
To scale objects follow these instructions. 1.Pass the cursor over an object on the Layout page. It will change in appearance (see left-hand screenshot). 2.To scale the object in proportion, move the mouse cursor to a corner of the object (see screenshot on left). 3.Press the mouse button and hold it down. Now move the mouse cursor to scale the object proportionately. |
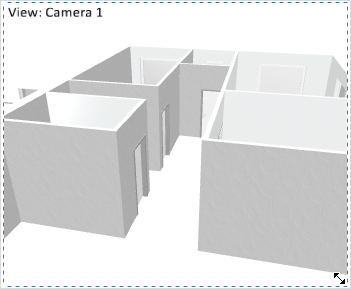
If you do not want to scale the object in this uniform way but along one of the axes, do not click on a corner but on one of the outer lines.
To adapt the size of the objects shown in the windows, or the section of the image, use the navigating options, which are described here.
If images are being inserted or scaled, a line will appear that will help you to format the image in proportion to its original size.
Reset Scaling
For stamps and for texts created with the <Text Editor>, the scaling can be reset via the context menu. Open the context menu and click Reset Scaling to bring these items back to their original scale.
Moving Objects Behind/In Front of Each Other
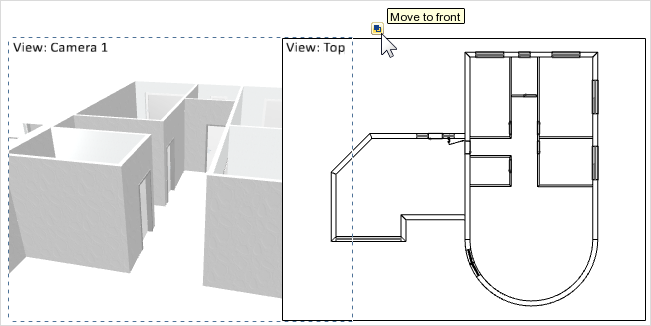
If objects overlap, you can use the interactor to determine which is to be in the background and which in the foreground.
1.Select the object. The interactor as shown in the screenshot below will become visible. 2.Clicking on the interactor enables you to select either background (Move to back) or foreground (Move to front) for the arrangement. |
|
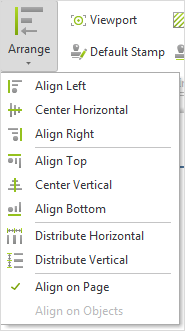
The objects in a Layout can be aligned using the Arrange function commanded from the button of that name in the Tools group on the Layout tab. There are basically two ways. One is to align objects in relation to the page (Align on Page). The other is to align the objects in relation to each other (Align on Objects). There must be at least two objects marked to enable the latter function. In the screenshot on the left the Arrange menu has been opened. The check mark in front of the Align on Page entry shows the user that this is the currently active option. Checking the Align on Objects entry instead will activate that alternative. |
Align on Page
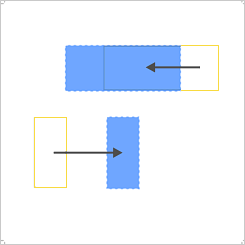
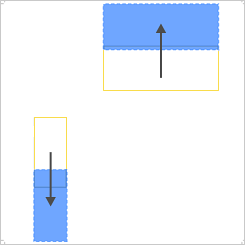
In the Align on Page mode, the objects will be aligned in relation to the margins you have set for the Layout (for example, 5mm on right and left, 7mm on top and bottom). Two actual functions are shown in the next two screenshots by way of example: Center Horizontally and Center Vertically. If you move the mouse over an image, two yellow rectangles will become visible. They represent the position of the objects in the design before it is centered horizontally (and/or vertically). If you then move the mouse out of the screenshot, you will be able to see how the object alignment has been changed by your use of whichever function.
|
|
Center Horizontally |
Distribute Vertically |
Align on Objects
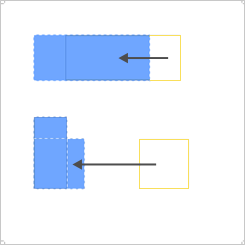
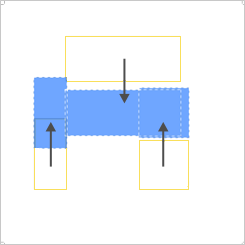
If you activate Align on Objects mode, the various alignment functions will apply to the relative positions of the objects among themselves and not to the Layout page measurements. Examples are shown in the next two screenshots – Align Left and Center Vertically. If you move the mouse over an image, three yellow rectangles will become visible. They represent the position of the objects in the design before they are aligned to the left (and/or centered vertically). If you then move the mouse out of the image you will be able to see how the object alignment has been changed by your use of whichever function.
|
|
Align Left |
Center Vertically |
There are two options to rotate elements on your layout pages:
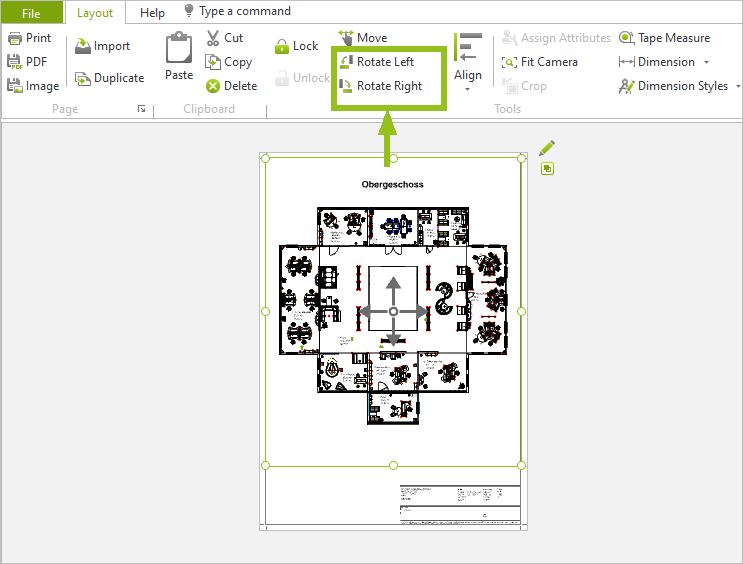
Rotate Left/Rotate Right Options
The Rotate Left and Rotate Right options in the Tools group of the Layout tab is used to rotate objects on your Layout pages in 90° steps.
Can be used for:
•Viewports in orthogonal views including content
•Texts
•Drawing elements
•Stamps
Multiselection is available.
How to proceed:
1.Select object.
2.Layout tab, Tools group: click Rotate left or Rotate right.
3.Repeat as needed.
Note: dimensions attached to your Layout windows will automatically be rotated together with our windows.
Rotating by means of the Object Interactor
Can be used for:
•Drawing elements
•Texts
•Stamps
Multiselection is available.
How to proceed:
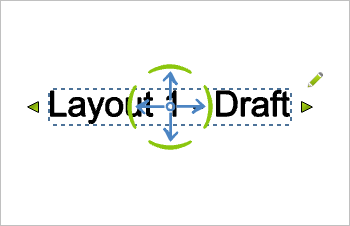
1.Select an object.
2.The curved rotation interactor appears in the middle of your selection. Click it once with the left mouse button.
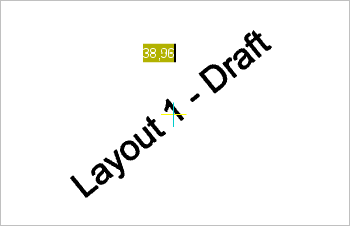
3.Rotate the object with the interactor to the desired position. Alternatively, you can input the rotation angle in degrees.
The entered angle will always be relative to the object’s last position.
|
|
The rotation of simple texts can be reset. To do so, select the text, open the context menu and selection Reset rotation.
Alternatively, you can set the rotation of images and stamps using the Properties Editor. Once you have selected an image or stamp, you will see the Size and Position area at the top of the Properties Editor. Open this area with a click and set the desired rotation in degrees in the Rotation line.