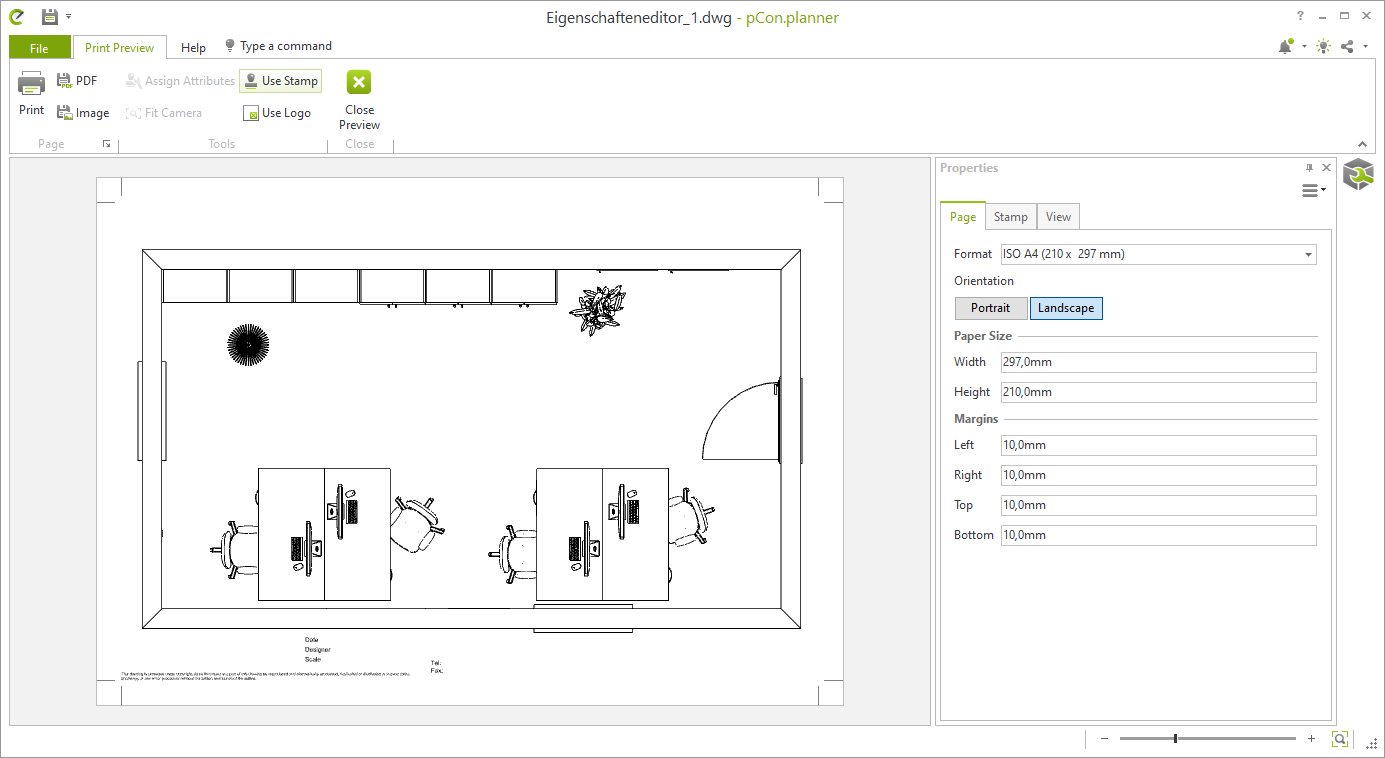
Print Preview (free pCon.planner)
The Print Preview button can be found under the Presentation tab in the group Print. This option will open a separate Print Preview page.
This page includes a single Viewport containing the contents of the active work area, as well as its projection and render mode.
What you see within the Print Preview is determined by the previous selection within the planning area. If the 2D Front view is set in the work area, for example, this is the view that will be used for the Print Preview. A different projection cannot be set while in Print Preview.
In order to change the projection, you must first close the Print Preview page. You can then adjust the projection to an alternative 2D or 3D view. Click the Print Preview button once more and the changes will be adopted.
The image details within the Viewport can also be adjusted. Once you double click the left mouse button within the Viewport, the following navigation options are available:
•Zoom in and out (turn scroll wheel)
•Shift the displayed planning section (right-click and hold)
•Orbit (hold down middle mouse button/scroll wheel)
|
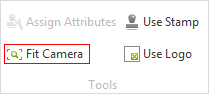
An additional way to adjust the display area in the Viewport is to use the Fit Camera function within the Tools group in the Print Preview. This function enables you to zoom into a section of the content in the Viewport. Start by clicking within the Viewport, then click on the Fit Camera button. |
Now, you can select a rectangular area within the view by left clicking on the desired start and end points for a particular area. Once the area has been outlined, the zoom will take effect. The Viewport itself takes on the proportions of your selection.
|
In the group Tools under the Print Preview tab, you will find the button Use Stamp. By clicking this button, you can insert a title block, also known as a Stamp, into the preview. You can also insert design information into the stamp by using the Properties Editor. You can learn more about this below. |
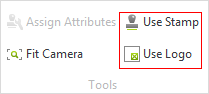
Within the same group you will also find the button Use Logo. By clicking this button, you can also insert a logo into the Print Preview. Once you've selected Use Logo, a dialog box will appear, allowing you to choose an image file. Select the desired logo from your local file directory and click Open. The logo will automatically be placed in the lower right-hand corner of the print page.
Both the stamp and logo can be easily hidden. To do so, click once again on the respective buttons within the Tools group of the Print Preview.
Changing print page properties
You can change the appearance of the print page using the Properties Editor. The following setting options are available:
Property |
Cange |
Format |
Select paper size |
Orientation |
Select page orientation |
Paper Width and Paper Height |
Custom paper size |
Margin |
The width of each page margin can be individually set. |
Render Mode |
Choose a Render Mode or Render Styles for the print page. |
Scale |
Set a predefined scale for printing or specify an individual scale – available for isometric projections as well as 2D views. |
High Quality Printing |
Activated: Visible lines, edges, points, hatches and texts are printed as vectors. Deactivated: The print will be of conventional quality. |
Print Simplified Edges |
Available when High Quality Printing is active. Ensures faster and more compact printing and therefor leads to smaller PDF files that load quicker. May lead to loss of detail. |
In the lower section of the Properties Editor, you can enter additional information for your plan – for example: Customer name, Project name, Designer. This information will automatically be inserted into the stamp. |
Once all of the necessary adjustments are made, you can print the page. To do so, simply click on the Print button in the group Page under the Print Preview tab.
Creating an Image from the Print Preview
It is also possible, as an alternative, to create an image from the current Print Preview. This is done by clicking on the Image button in the Print Preview tab. Once the save location is confirmed and the format set (e.g. *.png), the Image Export dialog will allow you to set the Image Width and Image Height for the image.