Dimensioning
For dimensioning or actually measuring objects, there are a number of options available. All the relevant functions are to be found in the Dimensioning group on the Edit tab. Clicking on the arrow next to the Dimensioning button within the group will open a drop down menu with the additional items.
You can dimension within the planning area and the layout area.
Presettings for Dimensioning
•Before you start inserting dimension items into your planning, you can predefine their appearance using the Dimension Styles dialog.
•The button Dimension Color opens a menu where you can specify a color for all future dimensions.
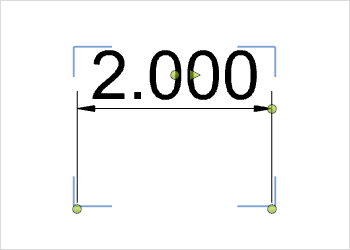
Using the object interactors, you can change:
•The dimensioned distance
•The distance between object and dimension line
•Position of the measurements
•Alignment of the measurements
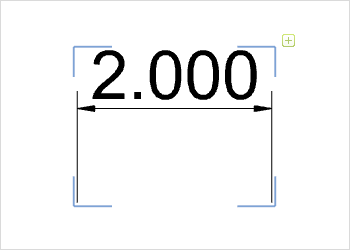
This is how to change a dimension:
1.Select the dimensioning to be changed. 2.Click on the edit symbol |
|
|
|
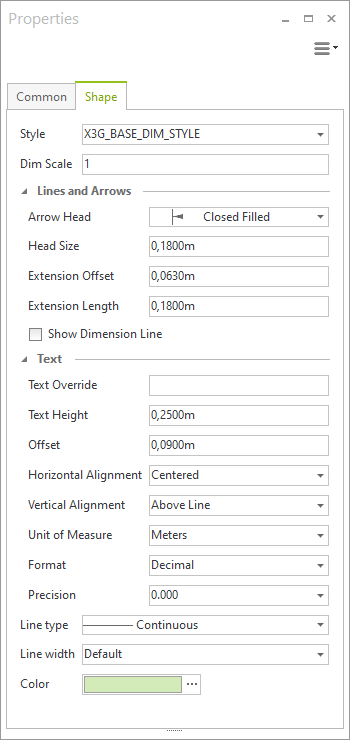
With the help of the Properties Editor, you can change, among others, aspect such as: •Measurement color •Dimension style •Settings for guides and dimension lines •Settings for arrowheads •Dimension text •Dimension unit •Position of the measurements •Alignment of the measurements
|