Toolbar
All the important tools and toolboxes for pCon.planner are included on the Toolbar. It is along the right-hand edge of the working area. For each icon on the Toolbar, a click will open the relevant window.
These are the tools that are accessed from the Toolbar:
Icon |
Tool in pCon.planner |
|
|
|
|
|
|
|
|
|
|
|
|
|
|
|
|
|
|
|
|
Icon |
Additional tool in pCon.planner Pro |
|
|
|
|
|
A click on the buttons on the Toolbar opens the respective tool or catalog in a new window. Most of the windows can be used either as a floating or a docked element. “Floating” means that the tool appears as a window that can be placed anywhere in front of the working area.
This is how to dock a window to the user interface (Properties Editor is used as example):
1.Click on the upper edge of the Properties editor window, hold the mouse button down and drag the window. 2.Arrows will appear in the center and at the edges of the viewport, so that you can see where you can dock the editor window (see next screenshot). |
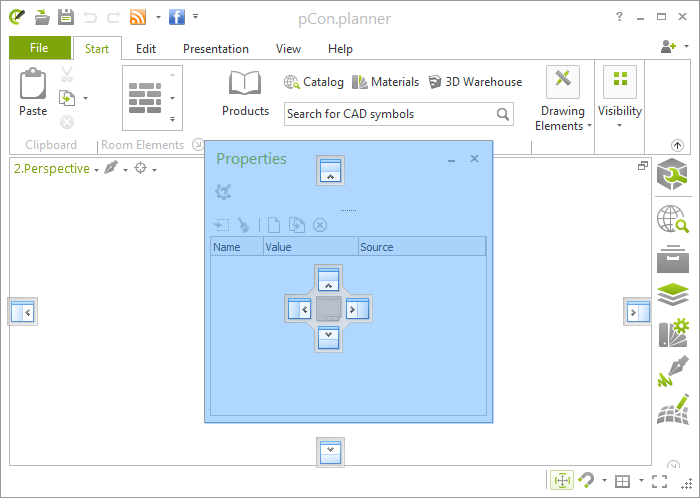
3.Move the Properties Editor window onto one of the arrows at the edges with the mouse button held down. 4.On approaching the arrow you will see a translucent blue frame appear, showing where the editor would end up. 5.If you release the mouse button the Properties Editor will dock. |
To undock the Properties editor, again click on its top edge and then move the window into the desired position holding the mouse button down.

Each docked window includes a pin icon (see red circle in the image above). Clicking the pin activates the automatic retraction of windows that are currently not being used. The windows will then be available from a tab at the side. They will open as soon as the mouse cursor moves over them.
It is possible to open a number of tools at once from the Toolbar and arrange them above or alongside each other.
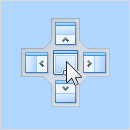
Merging Windows
|
It is possible to merge windows to save space. The way to do it is again to move the window so that the blue arrows appear in the viewport. Now move the window onto the center of the icon which appears in the middle. The individual tools will then be easy to access from tabs on the lower edge of the merged window. |
Customizing the Toolbar
|
The size of the icons in the Toolbar can be modified. The Customize dialog is opened by right-clicking the Toolbar or using the Customize item in the Application menu. Here, switch to the Options tab. Checking the Large symbols option will mean that the icons on the Toolbar appear bigger. It is not possible to alter the order of the icons on the Toolbar or their number. However, you can create your own icon bar with selected functions using the Customize menu and dock it onto the Toolbar. |
Docking the Toolbar
The Toolbar can be moved from the right-hand to the left-hand margin or to the top edge or bottom of the work area. To do so, click on the Toolbar with the left mouse button, hold the button down and drag, releasing the button when the Toolbar is visible at the new position.